
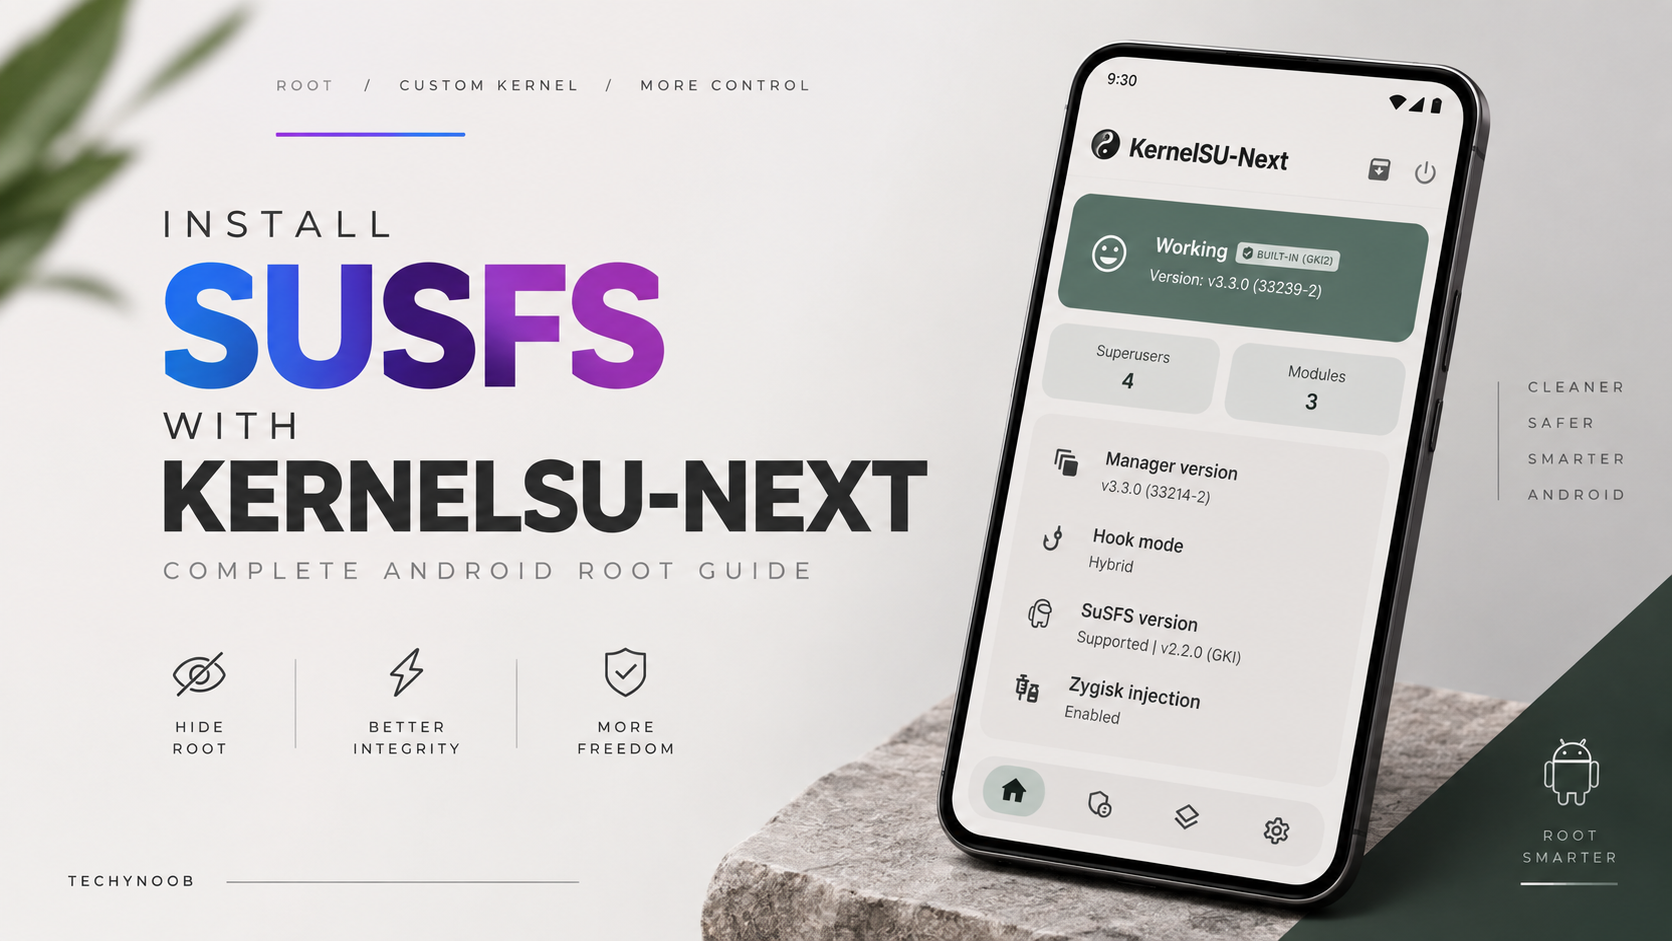
If you already have KernelSU Next installed on a supported GKI 2.0 Android device, the next step in this series is adding SUSFS support. SUSFS, also known as SUS OverlayFS, is designed to work alongside a compatible custom kernel and KernelSU to provide additional control over how system modifications are handled.
In this guide, you’ll learn how to replace your current kernel with a SUSFS-supported kernel, install the required SUSFS module, and re-patch the boot image with KernelSU Next so that root access remains available after the kernel change.
Before starting, make sure your device is already rooted with KernelSU Next and that you have the correct kernel package for your exact device and kernel generation. Flashing an incompatible kernel can prevent the device from booting, so this is not a step where you should experiment with random files.
What You Need
You’ll need a few things before beginning:
- A device already rooted with KernelSU Next
- Kernel Flasher APK
- A compatible SUSFS-supported kernel
- KSU SUSFS module ZIP
- A backup of your current boot and vendor boot images
For the demonstration, the device is a Google Pixel 6 using a 6.1 GKI kernel. The kernel package needs to match the device’s kernel configuration. In this setup, the required package is a precompiled GKI 6.1 AnyKernel3 ZIP configured with KernelSU Next and SUSFS, using LZ4 image compression for the Tensor platform.
If you are using a different phone, do not simply use the same kernel. Find a kernel specifically built for your device, kernel generation, chipset, and required image format.
Install Kernel Flasher
Start by installing Kernel Flasher on your Android device.
Download the Kernel Flasher APK and open it from your file manager. Android may ask you to allow installation from the source you’re using. Complete the normal APK installation process and launch Kernel Flasher once the installation is finished.
Now Kernel Flasher needs root access.
Open KernelSU Next and go to the Superuser section. Find Kernel Flasher in the list of applications and grant it full root access. This permission is required because Kernel Flasher needs privileged access to work with the device’s boot-related partitions and images.
Back Up Your Current Kernel
Before flashing anything, create a backup.
Open Kernel Flasher and use its backup function to save your currently active boot and vendor boot images. Having these files available gives you a recovery option if the new kernel does not boot correctly or causes unexpected problems.
Once the backup is complete, you can proceed with the kernel installation.
Flash the SUSFS-Supported Kernel
Inside Kernel Flasher, select Flash AK3 or Zip file.
Now choose your compatible SUSFS-patched kernel package.
For the Pixel 6 setup used here, the kernel is based on GKI 6.1 and comes as an AnyKernel3 ZIP with KernelSU Next and SUSFS support. The example uses the Wild custom kernel. Most importantly, the package must match the required GKI version and image compression for your hardware.
After selecting the ZIP, Kernel Flasher will process the package. Depending on the kernel, you may be asked to confirm the operation using your phone’s physical volume buttons.
Follow the instructions displayed on the screen and allow the kernel to be flashed to both slot A and slot B when requested.
Do not interrupt the process while the kernel is being flashed.
Watch the Full SUSFS Installation
If you prefer following the process visually, you can watch the complete installation walkthrough here:
YouTube:
Install the KSU SUSFS Module
Once Kernel Flasher reports that the kernel installation has completed successfully, don’t reboot the phone yet.
Open KernelSU Next and enter the Modules section.
Tap the install option and select the KSU SUSFS ZIP from your internal storage. KernelSU Next will install the module and add it to your active module configuration.
At this point, KernelSU Next may display a reboot prompt.
Do not reboot yet.
There is one important step remaining.
Re-Patch the Boot Image with KernelSU Next
Return to the main page of KernelSU Next.
Tap Install and select Direct Install.
This step is important because the previous kernel flash replaced the boot image that had been patched for your existing KernelSU installation. Re-patching the newly installed kernel ensures that your KernelSU root setup is retained after the kernel replacement.
Allow KernelSU Next to complete the patching process.
Once it finishes, return to Kernel Flasher and select Reboot Now.
Your device should restart and display the normal boot logo and animation.
Verify KernelSU and SUSFS
After Android starts, open KernelSU Next first.
Check that root access is still available and that the KSU SUSFS module appears in the active modules list. The original installation flow verifies both of these after reboot.
You can then open Kernel Flasher again and check the system information.
For the Pixel 6 setup used in this walkthrough, the kernel information shows the custom 6.1 Wild kernel, confirming that the stock kernel has been replaced with the SUSFS-supported custom kernel.
What Does SUSFS Actually Do?
SUSFS is intended to provide an additional layer for handling and concealing certain system modifications associated with root and systemless modifications.
It is often used in setups where users want to reduce the visibility of root-related changes to applications or services that perform integrity or modification checks. However, this should not be treated as a guarantee that every banking application, game, or Play Integrity check will be bypassed.
Detection methods change over time, and compatibility depends on the Android version, kernel, root configuration, application, and other modifications installed on the device.
In other words, installing SUSFS does not automatically make a rooted device invisible to every detection system.
Important Safety Notes
Kernel modification is more advanced than installing a normal Magisk or KernelSU module. Always verify that the kernel is specifically intended for your device.
Keep your original boot and vendor boot backups before flashing. If the device fails to boot after installation, those backups may be useful for recovery.
Also remember that a GKI version mismatch can be a serious problem. For example, a kernel built for GKI 6.1 should not be treated as interchangeable with a package intended for another GKI generation. Image compression and chipset requirements can matter as well.
For the Pixel 6 example, the setup specifically requires a compatible GKI 6.1 kernel using LZ4 compression.
Final Thoughts
Installing SUSFS with KernelSU Next involves more than simply flashing a module. The process requires a compatible custom kernel, Kernel Flasher, the KSU SUSFS module, and one additional KernelSU patch after replacing the boot image.
The most important part is using files that match your exact device and kernel configuration. If everything is compatible, you can finish with KernelSU Next retaining root access, SUSFS active as a module, and the custom kernel visible in Kernel Flasher’s system information.
Download: Kernel Flasher, SUSFS kernel (Only For Supported Devices), KernelSU Next and KSU SUSFS
Credits:https://github.com/WildKernels/GKI_KernelSU_SUSFS
https://github.com/KernelSU-Next/KernelSU-Next
https://github.com/sidex15/susfs4ksu-module/releases/tag/v1.5.2%2B_R28
https://github.com/capntrips/KernelFlasher
Always keep recovery files available before modifying the kernel, and only use root and system-modification tools on devices and software you are authorized to modify.



Discussion (0)
Post a Comment
No comments yet. Be the first to share your thoughts!