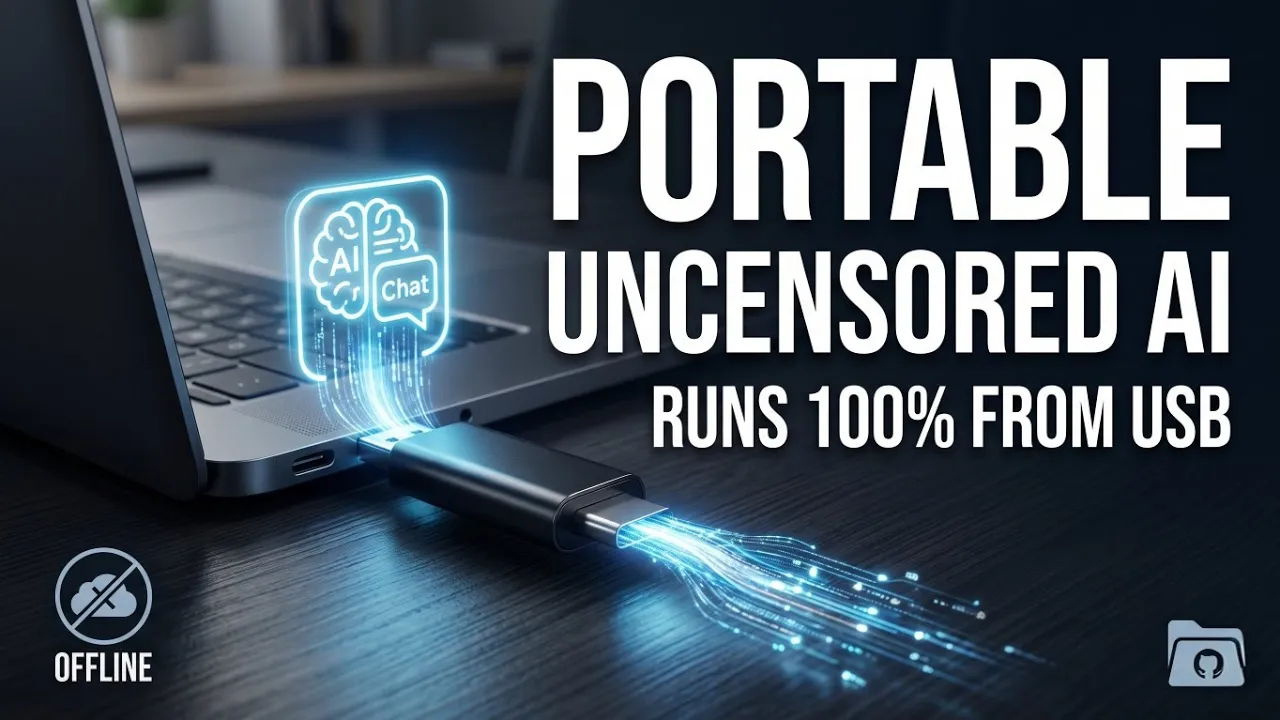
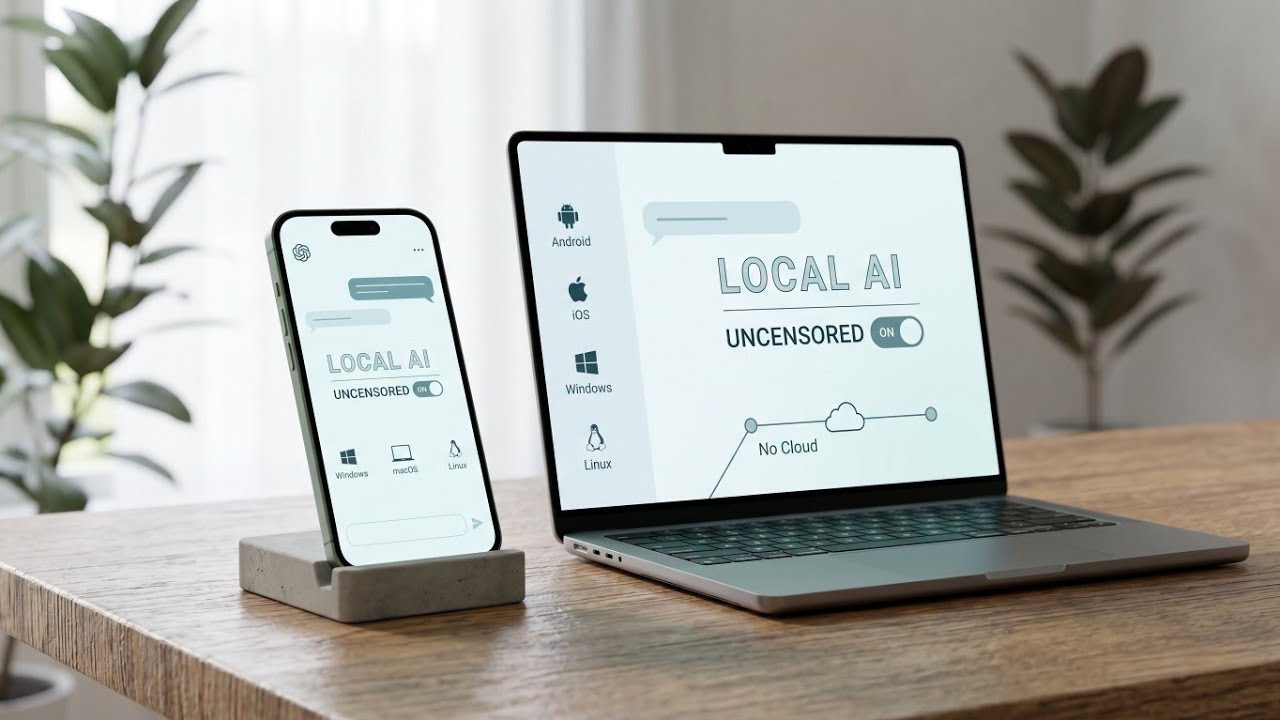
Welcome to another Techynoob guide! Today, we are diving into an incredibly exciting project: building a fully private, portable, and locally hosted AI assistant that runs entirely from a simple USB flash drive.
Imagine having the power of an advanced language model right in your pocket. No internet connection is needed after the initial setup, zero personal data ever leaves your device, and there are absolutely no monthly subscription fees. Whether you are using Windows, Mac, or Linux, you can plug in your flash drive and instantly access your own personal AI. Plus, this ecosystem now features multi-model support, allowing you to choose from a curated list of powerful, open-source models or even bring your own.
Here is the complete step-by-step guide to putting an offline AI in your pocket.
Why Go Portable and Offline?
In an era where cloud-based AI tools process and store your chat logs on remote servers, privacy has become a massive concern. By running an AI locally on a removable drive, you ensure complete data sovereignty. Your prompts, your code, and your personal thoughts stay strictly on your hardware. Furthermore, because the environment utilizes smart launcher scripts that automatically clear old path caches, you can easily plug this USB into different computers without running into annoying JavaScript or pathing errors.
What You Will Need
Before we begin the setup, make sure you have the following ready:
- A USB Flash Drive: While you can technically start with a 16GB drive, it is highly recommended to use a 32GB or 64GB pendrive. AI model weights and operating files take up a lot of room. (More on this limitation later).
- Correct Formatting: Ensure your USB drive is formatted to exFAT. This format is universally recognized, allowing your AI to read and write seamlessly across Windows, Mac, and Linux computers.
- Internet Connection: You will only need this for the initial one-time setup and model downloading.
Watch the full tutorial here on our Youtube channel:
Step-by-Step Setup Guide
Step 1: Download the Core Files To get started, we need the automation scripts that make this portable ecosystem possible. Head over to the official GitHub repository for the Portable-AI-USB project (github.com/techjarves/Portable-AI-USB). Once you are on the page, look for the bright green "Code" button near the top right. Click on it, and select "Download ZIP" from the dropdown menu. This will download a lightweight package containing all the necessary setup tools.
Step 2: Prepare the USB Drive Plug your properly formatted exFAT USB drive into your computer. Copy the ZIP file you just downloaded and paste it directly into your USB drive. Right-click the file and extract its contents right there.
Crucial Detail: Once extracted, open the new folder, select every single file inside, and move them out into the root directory of your USB drive. You want all the setup files sitting directly on the main level of the flash drive, not buried inside any subfolders.
Step 3: The Installation Phase With your files in the root directory and your internet connected, look for the file named install.bat and double-click it. A command-line terminal window will appear, launching an interactive installer menu.
The script will present you with several different AI models to choose from. Follow the on-screen prompts to select the model you wish to download.
Step 4: Configuring the Chat Interface Right after selecting your model, the interactive AnythingLLM setup installer will automatically launch. Pay close attention here: When the installer asks for the "Install Location," do NOT just click next. Instead, click the "Browse" button, navigate directly to your USB drive, and explicitly select the anythingllm folder located on the drive. This step is vital to ensure the entire chat interface remains completely portable.
Let the installer finish, then close the window. The script will continue downloading your selected AI model in the background.
Troubleshooting Common Issues
Failed Model Downloads If your internet drops and a model download fails, the installer will automatically try again. If it completely fails, you can download the model manually. Just copy the HuggingFace link shown in the console error, download the .gguf file via your browser, and place it directly into the models folder on your USB. Re-run install.bat, and it will detect the file and skip the download automatically.
The "Not Enough Space" Error When you try to run the software, you might encounter an initialization error stating there is not enough space. During testing, running this setup on a 16GB flash drive caused the system to completely run out of storage room between the operating files, the chat architecture, and the AI model weights. Because of this space bottleneck, the environment cannot initialize properly. To avoid this hardware limitation, simply use a 32GB or 64GB drive. This gives the system plenty of breathing room to allocate files, cache data, and swap multiple models safely.
How to Use Your Portable AI
Once everything is installed, using your AI is incredibly simple.
- Plug your USB into any computer and double-click start-windows.bat.
- A terminal window will open to initialize the environment, followed automatically by the AnythingLLM chat interface.
- Inside the chat interface, navigate to Settings → LLM and select your downloaded model.
- Start chatting!
Remember to keep the black terminal window open while you are chatting. When you are done, simply press any key inside the terminal window to safely shut down the servers before unplugging your drive.
A massive shoutout to the developer who put this repository together. It completely democratizes private, local AI and makes it accessible to everyone. Drop a comment below and let the Techynoob community know which models you plan on running straight from your pocket!
Subscribe to our YouTube channel for daily Android tips, tricks, and tutorials: TechyNoob
Discussion (2)
Post a Comment