
Android customization has always been about breaking boundaries and tailoring your device to your exact preferences. One of the most sought-after modifications in the custom ROM and rooting community is device spoofing. By masking your current device's fingerprint to match a different flagship, you can trick applications and the Android system into thinking you are using a completely different smartphone.
With the arrival of Google's latest flagship lineup, enthusiasm around the new devices is at an all-time high. If you want to experience the software profile of these flagships without purchasing new hardware, you can achieve this seamlessly using a specialized Magisk module. This comprehensive guide walks you through how to spoof your device identity to the Pixel 10, Pixel 10 Pro, or Pixel 10 Pro XL.
Why Spoof Your Android Device to a Pixel?
Device spoofing is more than just a cosmetic change in your settings menu. Altering your device fingerprint offers several practical benefits:
- Access Restricted Applications: Certain apps, features, or beta updates on the Google Play Store are hard-coded to only appear for official Google devices.
- Unlock Exclusive Features: Pixel-exclusive software perks—such as advanced wallpapers, specific camera utilities, or advanced Google Assistant features—often rely on system fingerprint validation.
- Seamless Play Integrity Integration: When paired with proper custom recovery setups, spoofing helps maintain a clean system profile for customized devices.
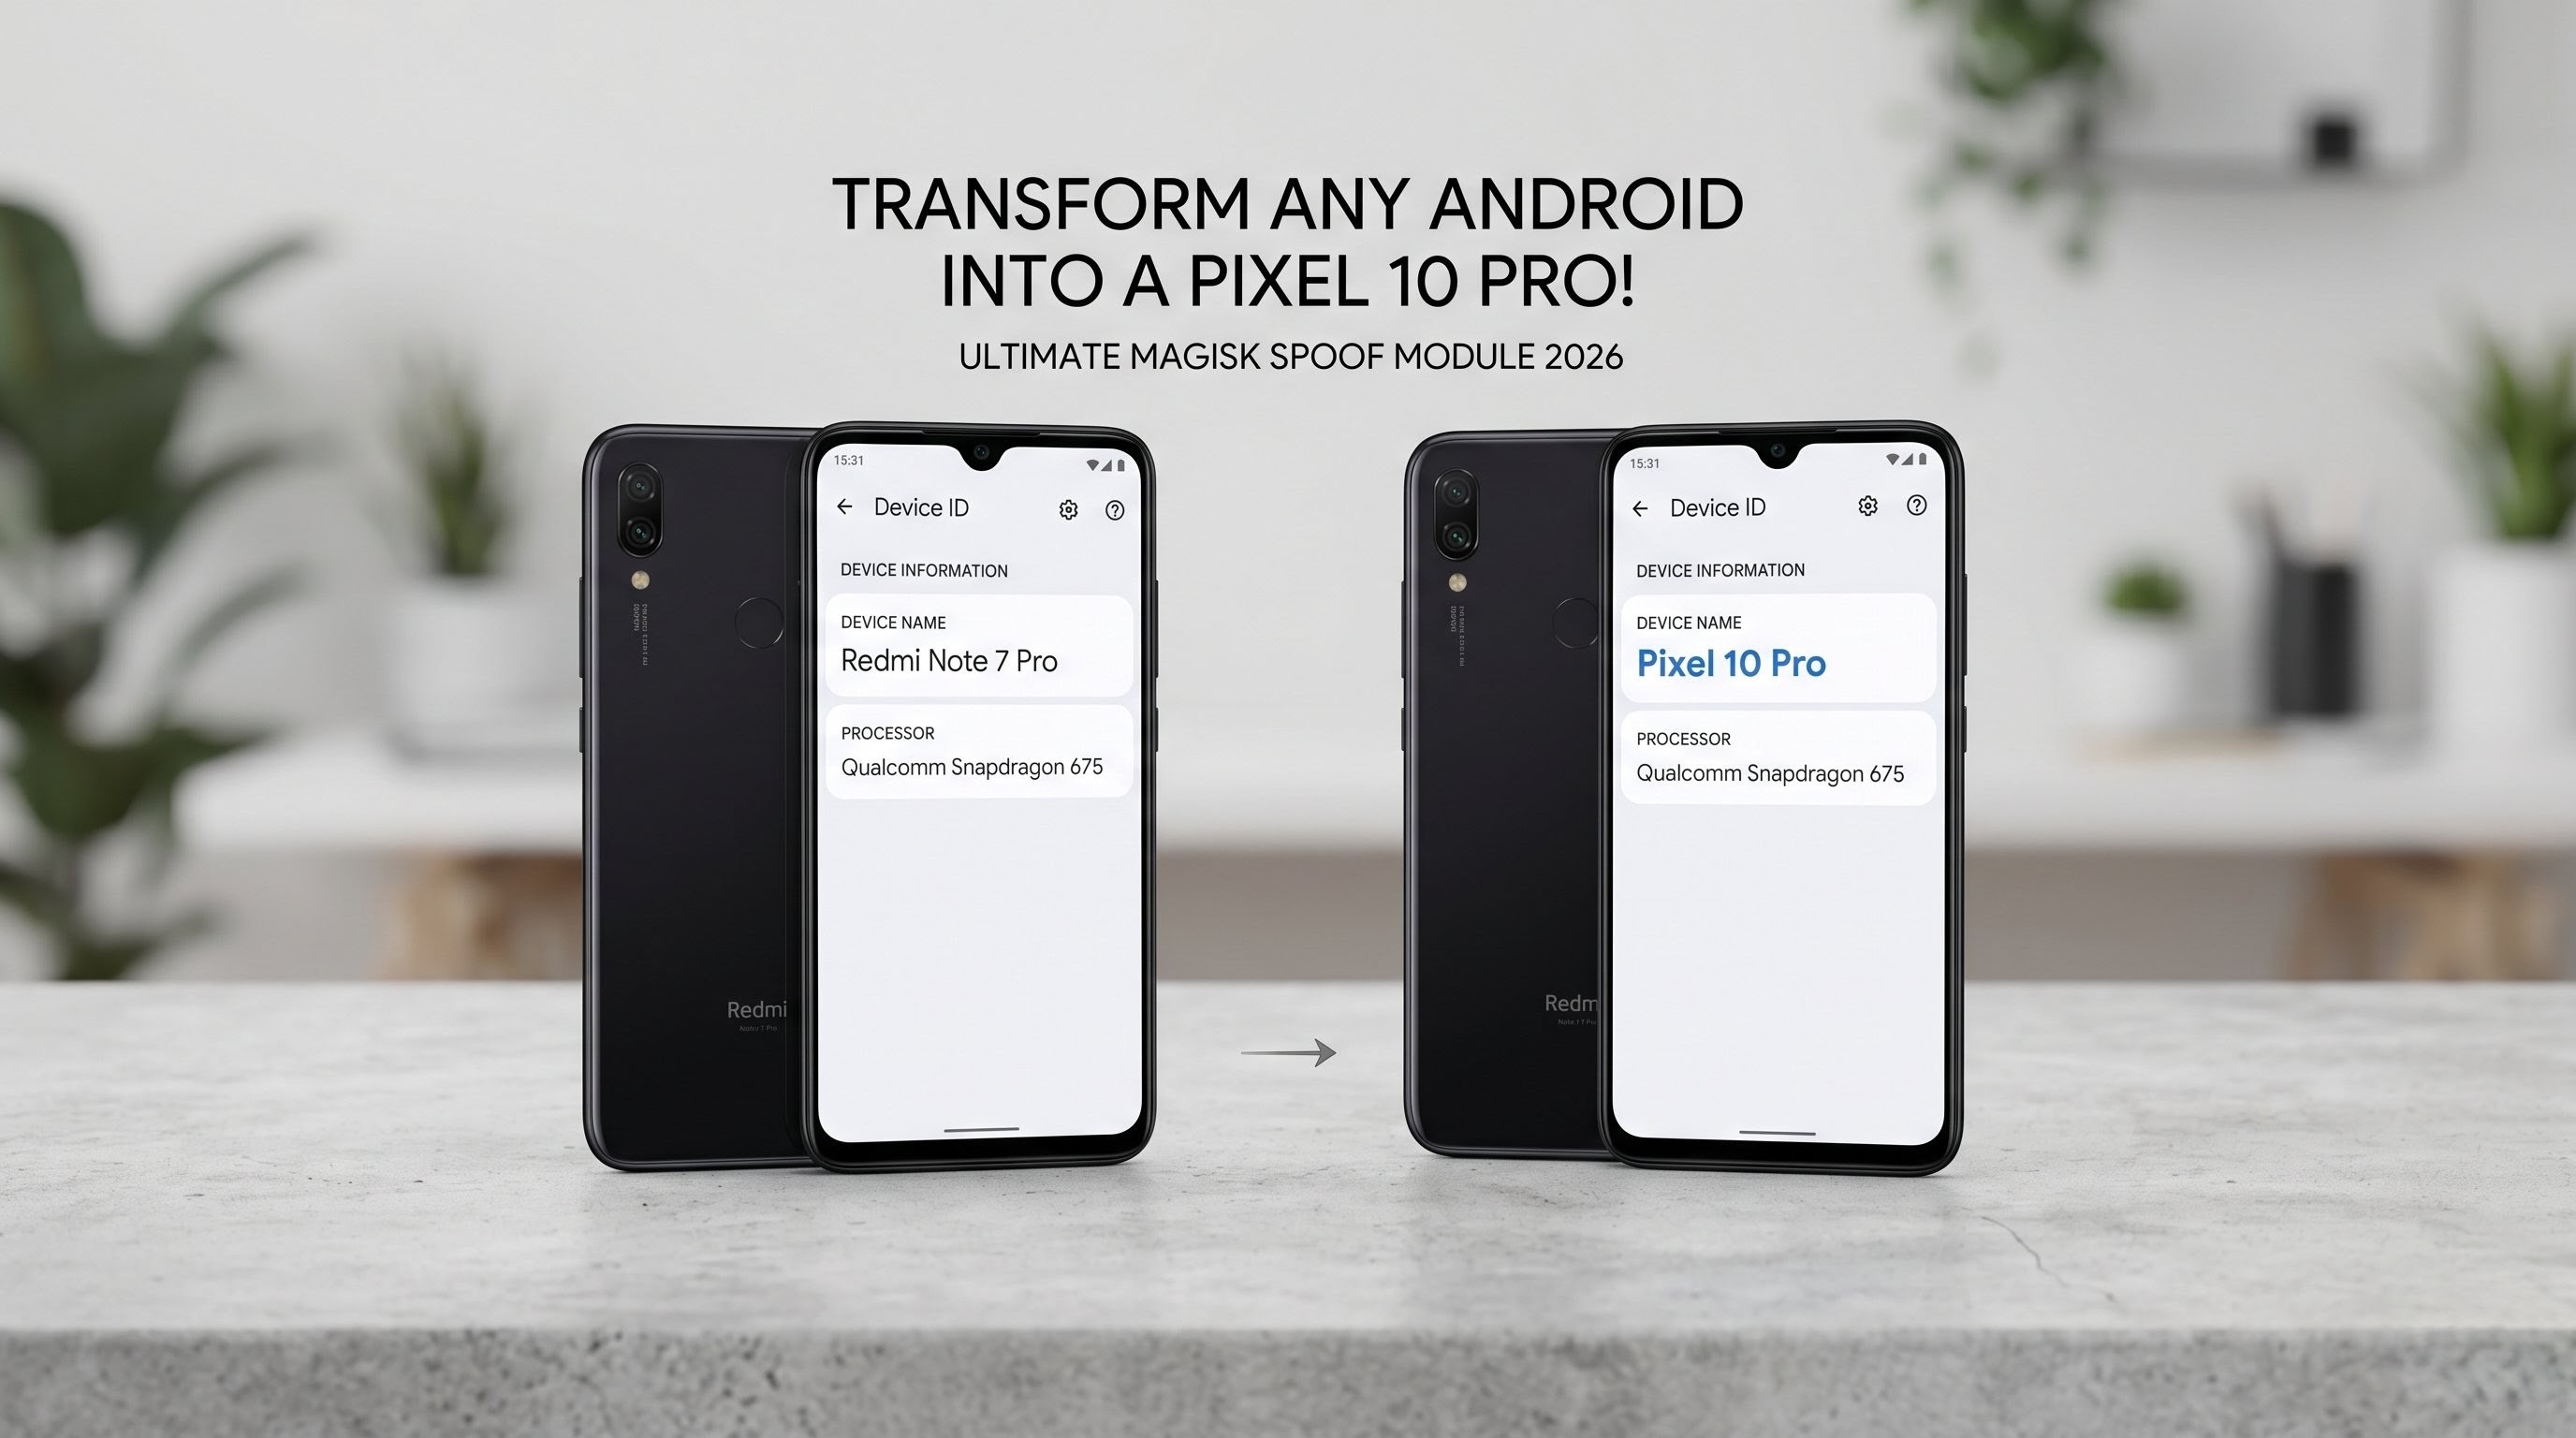
For this demonstration, we use a classic mid-range device, the Redmi Note 7 Pro (powered by the Qualcomm Snapdragon 675 processor), to show how a mid-tier phone can successfully adopt the identity of a premium Pixel 10 Pro.
Watch the full tutorial here on our Youtube channel:
Prerequisites Before Installation
To ensure a smooth installation process and avoid any system boot loops, make sure your device meets the following requirements:
- Unlocked Bootloader: Your phone’s bootloader must be completely unlocked.
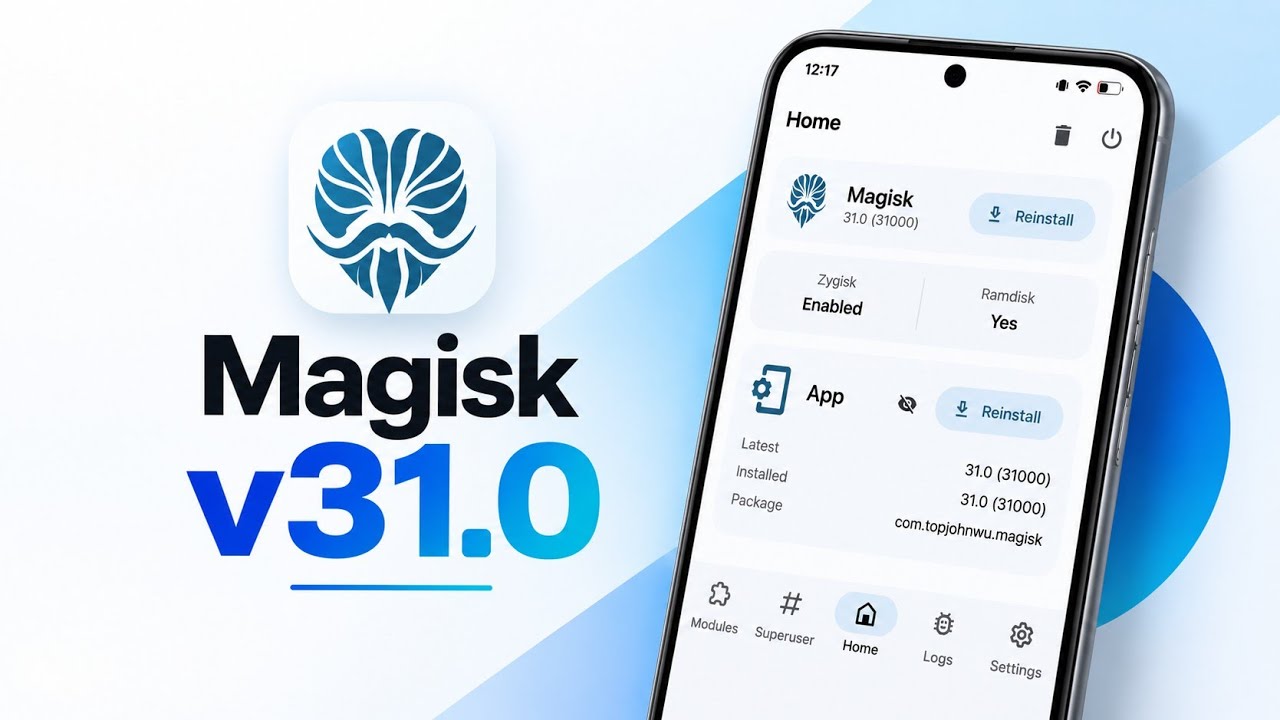
- Magisk Installed: Your device must be actively rooted with the latest stable version of Magisk Manager.
- File Management App: A reliable file manager to locate your downloaded files.
- Device ID Application: Download a system information tool (like Device ID or AIDA64) from the Play Store to verify your device details before and after the process.
- Backup: It is always a recommended practice to create a full system backup before flashing any system-level archives.
Step-by-Step Installation Guide
There are three distinct system packages tailored for the entire new lineup: the standard Pixel 10, the premium Pixel 10 Pro, and the top-tier Pixel 10 Pro XL. Follow these steps to flash the module of your choice.
Step 1: Verify Initial Device Status
Before making any system modifications, open your preferred Device ID application. Take note of your current hardware configuration. In a standard setup, the app will correctly list your native device name (e.g., Redmi Note 7 Pro) and your actual hardware architecture (e.g., Qualcomm Snapdragon 675).
Step 2: Download and Organize the Files
Locate the specific configuration files on your local storage. Ensure you have the target system zip archive safely stored in your device’s internal directory, preferably inside the default "Downloads" folder for easy navigation.
Step 3: Flash the Module in Magisk Manager
- Launch the Magisk Manager application on your rooted device.
- Navigate to the Modules section by selecting the tab located at the bottom-right corner of the interface.
- Tap on the Install from storage button at the top.
- Browse through your internal storage and open the folder where your configuration files are saved.
- Select the desired package (for example, the Pixel 10 Pro spoof package).
- The Magisk environment will automatically execute the installation script. It will extract the configuration assets, mount your system partitions, and safely apply the new hardware fingerprint.
Step 4: Reboot Your System
Once the flashing console displays a completion message, look toward the bottom-right corner of the screen. Tap on the prominent Reboot button to restart your device and allow the newly injected system files to initialize during the boot cycle.
Step 5: Confirm Active System Changes
Once your phone boots back up completely, unlock it and head straight back into the Magisk Manager app. Switch over to the modules tab once again. You should see your selected module actively running at the top of the modifications list, confirming a successful installation.
Verifying the Identity Transformation
The definitive test requires returning to your system diagnostics or Device ID application. Upon opening the application, check the primary identification strings:
- Device Name: The system identifier will now adapt, officially displaying your chosen configuration, such as Pixel 10 Pro.
- Hardware and Processor: Because this modification acts purely as a software-level translation layer, your core physical architecture remains untouched. The app will accurately continue to report your original chipset configuration (e.g., Qualcomm Snapdragon 675).
This distinct separation confirms that the software wrapper is working flawlessly—tricking apps into recognizing a premium flagship environment while keeping your underlying system components operating safely and stably within their original physical specifications.
Subscribe to our YouTube channel for daily Android tips, tricks, and tutorials: TechyNoob


Discussion (2)
Post a Comment