
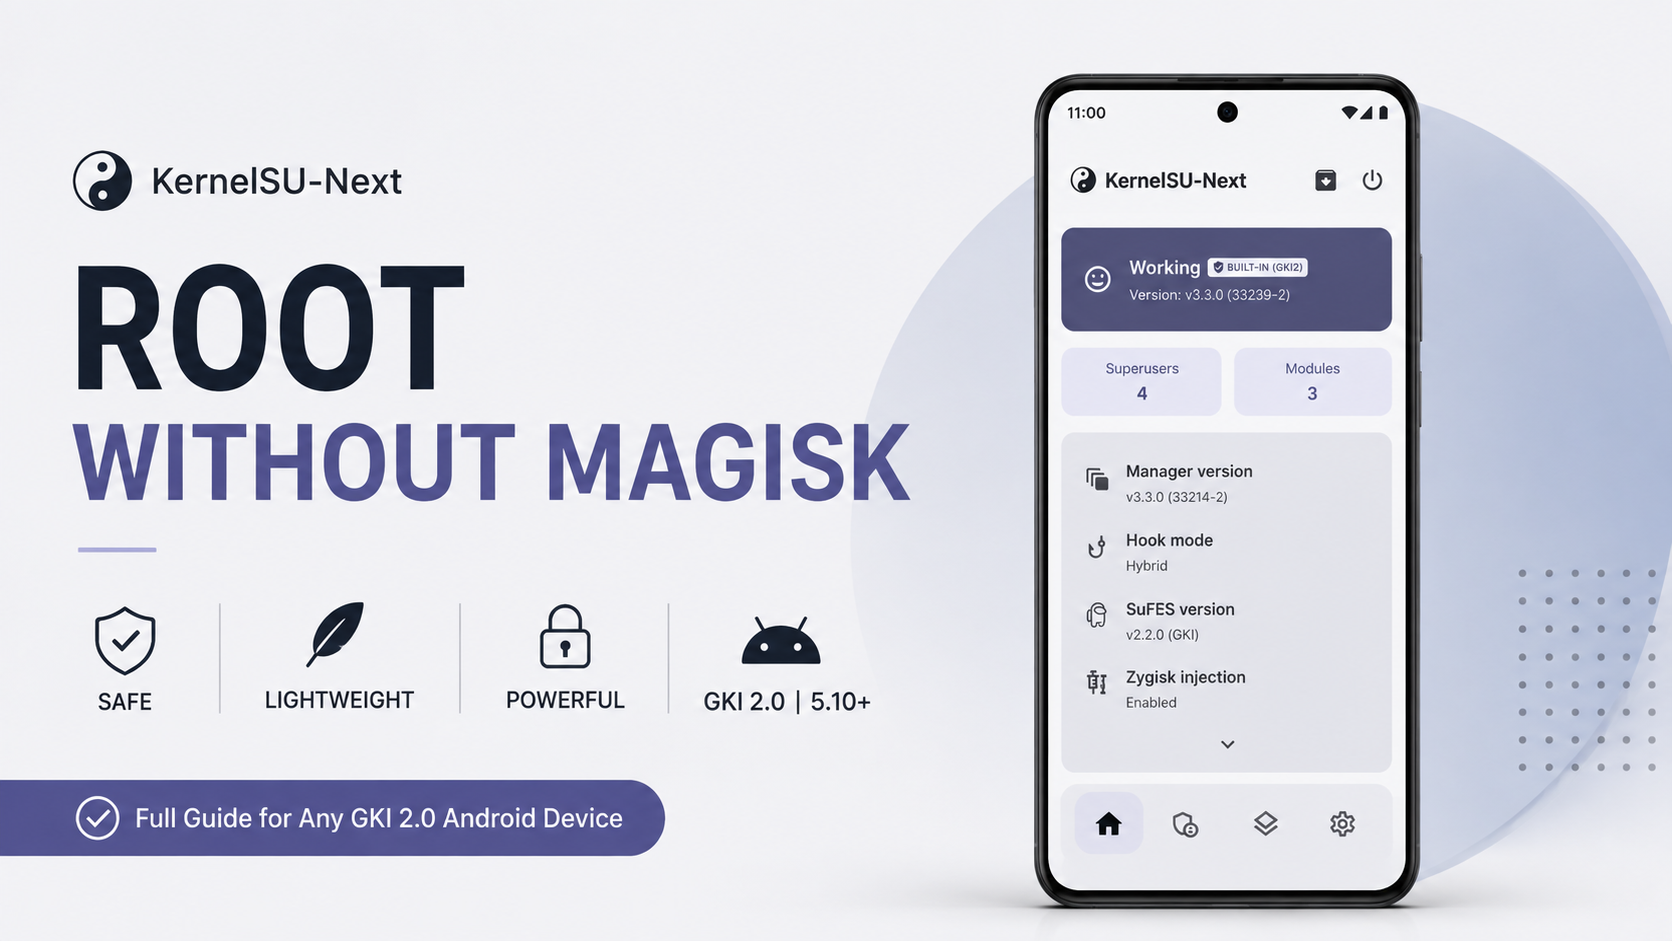
If you have an Android phone using a GKI 2.0 kernel with Linux kernel 5.10 or newer, KernelSU Next gives you another way to gain root access by patching your device’s boot image. In this guide, I’ll show you the complete process from checking the required files to patching the boot image, flashing it with Fastboot, and verifying that KernelSU Next is installed successfully.
The process is demonstrated on a Google Pixel 6, but the boot image type and exact Fastboot procedure can vary depending on your device.
Important: Boot image modification and Fastboot flashing can affect your device’s ability to boot. Make sure you have the correct stock boot or init_boot image for your exact device and software build before proceeding.
YouTube Video:
What You Need
Before starting, make sure your device is supported and is using a GKI 2.0 kernel with Linux 5.10 or newer.
You’ll need three main things:
- KernelSU Next APK
- Playloader Dumper app — optional, but useful
- Stock boot image or init_boot image
The KernelSU Next application is used to patch the image, while the patched image is later flashed through Fastboot.
Download: DOWNLOAD KERNELSU NEXT
You should also have access to a computer with Android Platform Tools installed because we’ll use Fastboot to flash the patched image.
Check Your Files
Start by opening your file manager.
Make sure the KernelSU Next APK is available on your phone. You can also install the Playloader Dumper application if you want an easier way to obtain the required boot image from an online ROM or OTA package.
The Playloader Dumper tool is useful because you don’t necessarily need to download a complete ROM package just to extract a relatively small boot image.
You’ll also need the correct stock image for your device.
This is important because different devices use different image layouts.
Older devices generally use a standard boot.img, while newer devices may use an init_boot.img.
For this installation, I’m using a Google Pixel 6, which uses the standard boot image, so I’ll be patching boot.img.
Use the image type that matches your own device.
Patch the Stock Boot Image
Once your required files are ready, open the KernelSU Next application.
Since we’re starting from a clean installation, the app will show that KernelSU Next isn’t installed yet.
Tap the Installation option.
Next, select Select a File.
Your file picker will open. Navigate to the location where you saved your stock boot image and select it.
KernelSU Next will now begin patching the image.
Wait for the process to finish.
When the patching is complete, the application will display a success message and show you where the patched image has been saved.
By default, the patched file is stored in your Downloads folder.
Find the Patched Image
Open your file manager again and go to the Downloads folder.
You should now see the newly patched boot image.
Before continuing, make sure you’re using the newly generated patched image rather than accidentally selecting your original stock image.
Now we need to move this patched image from the phone to a computer.
Transfer the Image to Your PC
Connect your phone to your PC or laptop using a USB cable.
Make sure the phone is set to File Transfer mode.
From your computer, open the phone’s internal storage and navigate to the Downloads folder.
Copy the patched boot image to your computer.
Keep it somewhere easy to access because we’ll need its path when running the Fastboot command.
Boot Into Fastboot Mode
Next, turn the phone off and boot it into Fastboot mode.
The exact button combination depends on your device. On many Android phones, you can enter Fastboot by holding Power + Volume Down while the device is powered off.
Once Fastboot mode appears, connect the phone to your computer.
Open a terminal or command prompt.
If you’re using Windows, open the command prompt or PowerShell inside your Android Platform Tools folder.
On Linux, open your terminal in the directory containing your Platform Tools.
Now run:
fastboot devices
Press Enter.
Your device should appear in the output. This confirms that your computer can communicate with the phone through Fastboot.
Flash the Patched Image
Now we’re ready to flash the patched image.
For a device using a standard boot image, use:
fastboot flash boot
Add a space after the command and then provide the path to your patched boot image.
You can also drag and drop the patched image directly into the terminal window to automatically insert its file path.
Then press Enter.
If your device uses an init_boot.img instead, use:
fastboot flash init_boot
The important part is choosing the correct partition for the image type used by your device.
Wait for Fastboot to complete the flashing process.
You should see successful status messages such as OKAY.
Reboot the Device
Once the flashing process finishes successfully, reboot your phone.
The device should begin loading Android normally.
You’ll see the boot animation while the modified boot image initializes.
Don’t interrupt the device during this process.
Once Android finishes booting, open your application drawer and launch KernelSU Next.
Verify Root Access
Inside KernelSU Next, check the installation status.
Instead of showing that KernelSU Next is not installed, the application should now report that it is installed.
This confirms that the patched boot image was successfully flashed and KernelSU Next is now active.
At this point, your device is rooted through KernelSU Next and ready for the next stage of customization.
If you’re following the series, the next step is the SUSFS installation, but that is a separate process and isn’t required for simply getting KernelSU Next working.
Final Thoughts
That’s the complete KernelSU Next installation process.
The basic workflow is straightforward: prepare the correct stock boot image, patch it using KernelSU Next, transfer the patched image to your computer, boot into Fastboot, flash it to the correct partition, and then verify the result inside KernelSU Next.
Just be especially careful when selecting the image and Fastboot partition. A boot image from the wrong device or software build can lead to boot problems.
YouTube:
Download: DOWNLOAD KERNELSU NEXT



Discussion (0)
Post a Comment
No comments yet. Be the first to share your thoughts!