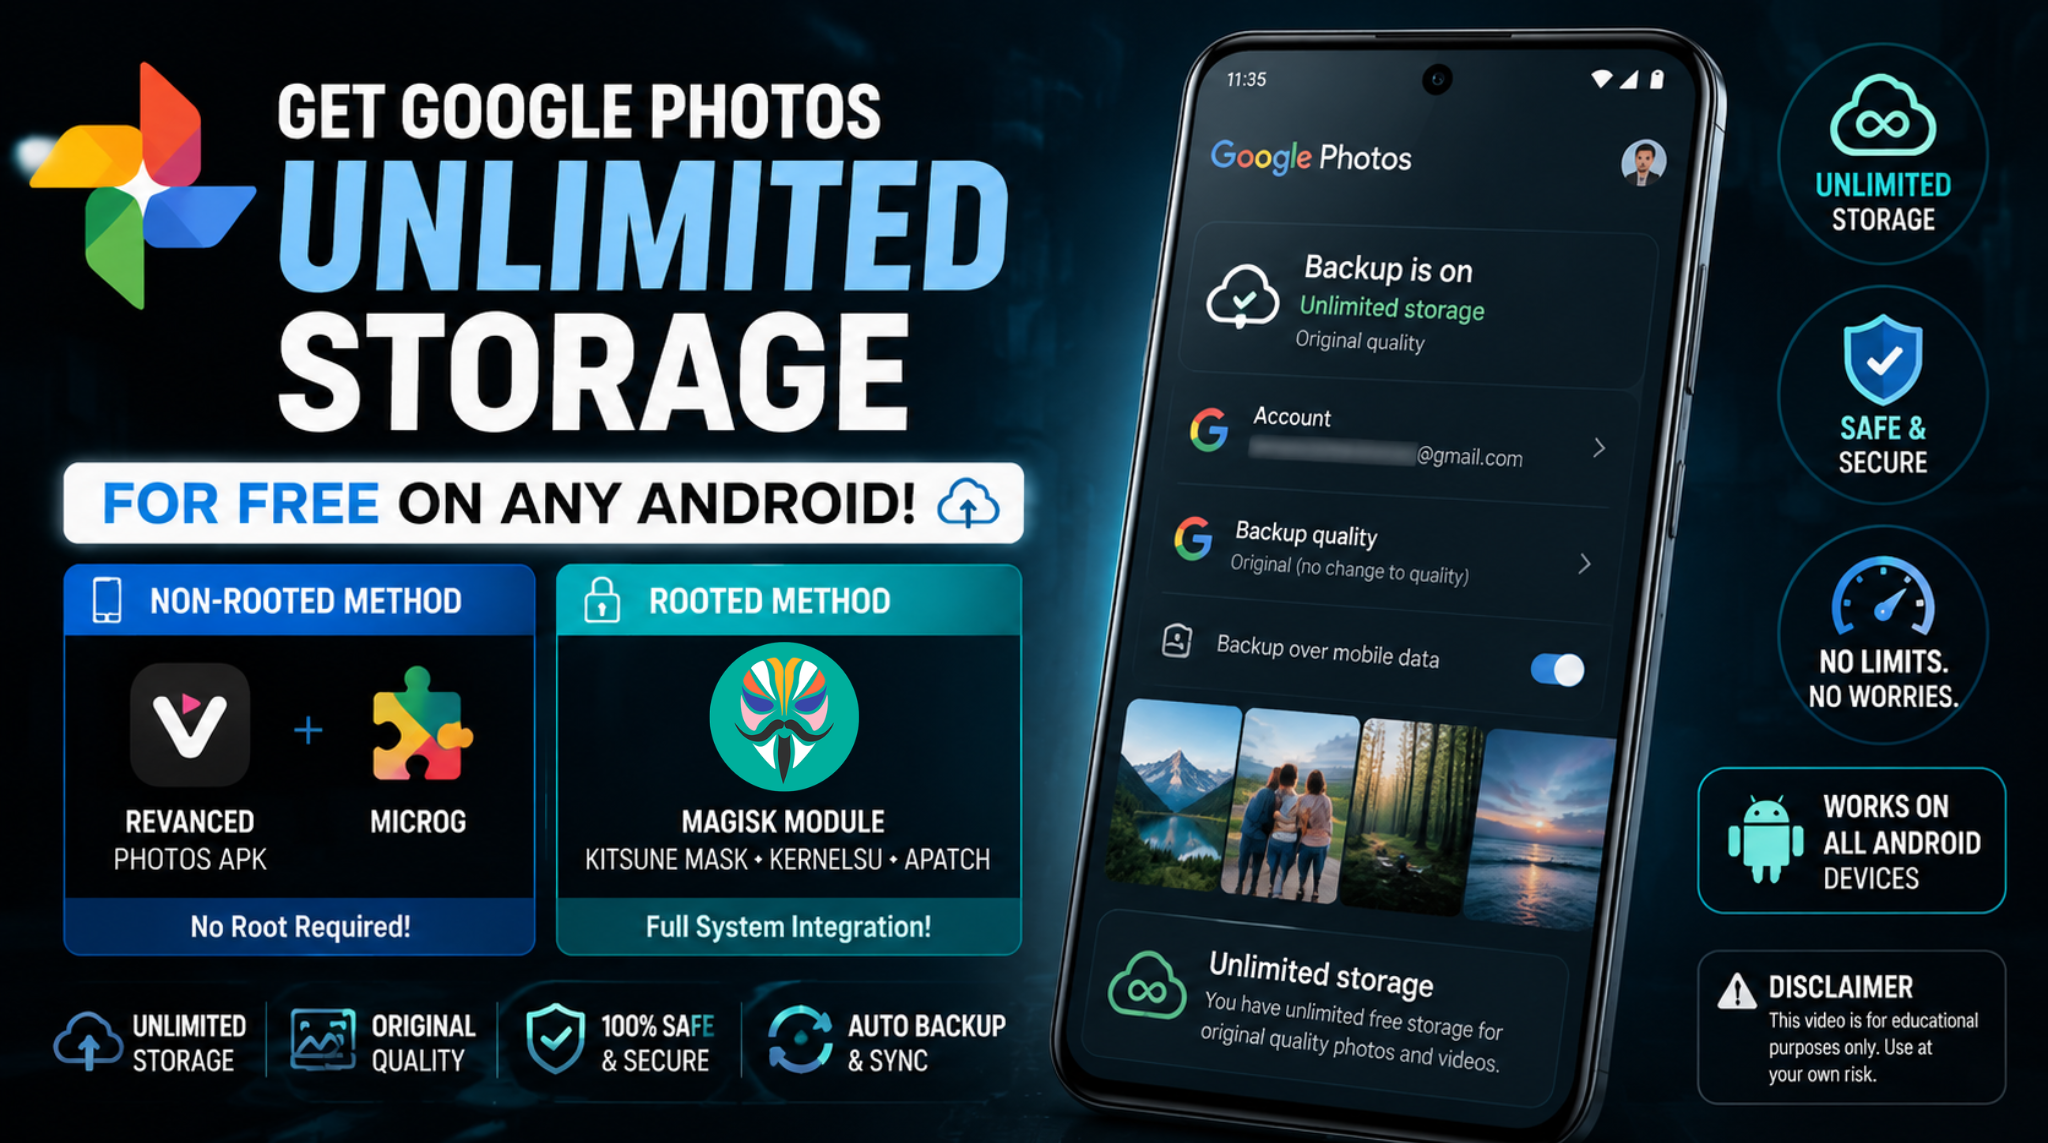
If you take a lot of photos and videos on your smartphone, you already know the struggle of managing cloud storage. We’ve all seen that dreaded "Storage Full" notification. While there are plenty of cloud services out there, Google Photos remains the absolute best for organizing and searching through your memories.
Historically, certain legacy devices (like the original Pixel lineup) were granted lifetime unlimited photo backups in original quality. Today, developers in the Android community have figured out ways to replicate that environment on modern devices using custom frameworks. In this guide, I am going to walk you through exactly how these custom environments work for both rooted and non-rooted Android phones.
Understanding the Custom Frameworks (Revanced & MicroG)
Before we dive into the installation, let’s talk about what we are actually doing here. We aren't hacking anything; rather, we are utilizing the Revanced framework. Revanced is an open-source project that allows users to patch and modify applications to alter their behavior—in this case, altering how the app identifies your device model to the servers.
- For Non-Rooted Devices: We use a patched standalone APK alongside MicroG. MicroG is an open-source clone of Google Play Services. It allows the patched app to securely communicate with your Google account without needing system-level access.
- For Rooted Devices: We use a systemless Magisk module. Because rooted devices have deeper system access, this module directly replaces the framework of the original app, making the process much more seamless.
Let’s break down the exact steps for both methods.
Watch the full tutorial here on our Youtube channel:
Step-by-Step Installation for Non-Rooted Devices
If you prefer not to tinker with your phone's system partitions, this method is for you. You will need two files: the patched Revanced Photos APK (ensure you download the correct 32-bit or 64-bit version for your device) and the MicroG APK.
- Install the Patched APK: Locate the Revanced Photos APK in your file manager and install it just like any standard application. Crucial step: Do not open the app yet once the installation finishes.
- Install MicroG: Next, tap on the MicroG APK and install it. This provides the necessary bridge for your account.
- Sign In: Open the MicroG app from your app drawer. Navigate to the account section and securely sign in with your Google credentials.
- Configure the App: Open the newly installed Revanced Photos app and grant it the necessary permissions to access your media.
A quick tip for non-rooted users: Because this is a sandboxed application, every time you completely swipe away and close the app, you will need to tap your profile icon in the top right corner and manually reselect your account when you open it again. It takes a few extra seconds to fetch your photos, but it is a small tradeoff.
Step-by-Step Installation for Rooted Devices
If your phone is rooted, the experience is much smoother. For this, I am using Kitsune Mask, but this process is identical whether you are using KernelSU, APatch, or the standard Magisk Manager.
- Open Your Root Manager: Launch Kitsune Mask (or your preferred manager) and navigate to the Modules tab at the bottom.
- Flash the Module: Tap on "Install from storage" and locate the Revanced Google Photos Magisk module zip file that matches your device architecture (32-bit or 64-bit).
- Reboot: The installation script will run automatically. Once you see the "Success" message at the bottom, tap the reboot button to apply the systemless changes.
- Initial Load: Once your phone restarts, open your original Google Photos app. Because the module directly integrates with the app, it may take 10 to 15 minutes to fully load your library for the first time. Just leave the app open on your screen and be patient.
Why I Use This Module Daily
As someone who reviews tech and takes hundreds of reference photos a week for Techynoob, local storage vanishes quickly. I rely on this module daily because it completely removes the friction from my workflow. I don't have to compress my images or constantly shuffle files to an external hard drive. The ability to snap a 4K video, know it is backed up in its original quality, and then clear it from my local storage is incredibly freeing. It brings back the golden era of Android cloud backups.
Battery Impact and Performance Analysis
Whenever you introduce modified frameworks or background services like MicroG, battery life is always a valid concern. After running this setup extensively, here is my performance analysis:
On the rooted Magisk version, the battery impact is virtually zero. Because it operates systemlessly and utilizes the existing Google Play Services on your phone, it behaves exactly like the stock application.
On the non-rooted MicroG version, you might notice a very slight uptick in background battery usage. MicroG has to ping the servers independently of your system's built-in Google services. However, in my daily testing, this accounted for less than a 2% battery drain over a 24-hour period. It is completely negligible for the utility it provides.
Potential Bugs and How I Fixed Them on My Device
No custom modification is perfect, and you might run into a few hiccups. Here are the most common issues and how I solved them:
- The Rooted App is Stuck Loading: As mentioned, the first boot takes a while. However, if it has been 20 minutes and it is still hanging, the cache likely got corrupted during the flash. The Fix: Go to your phone's Settings > Apps > Google Photos and hit Clear Data and Clear Cache. Relaunch the app, and it should initialize perfectly.
- MicroG Won't Accept Login: Sometimes, MicroG throws a network error when trying to add an account. The Fix: Ensure your default browser is up to date, clear the MicroG app data, and try signing in again over a stable Wi-Fi connection rather than cellular data.
- Non-Rooted App Crashing on Launch: This usually means you installed the wrong architecture. The Fix: Uninstall the app, check whether your phone has a 32-bit or 64-bit processor, and install the matching APK.
Final Thoughts
Custom frameworks like Revanced continue to push the boundaries of what our devices can do, offering incredible flexibility for power users. Whether you decide to go the systemless root route or use the standalone MicroG setup, both methods are fantastic ways to optimize how your device handles media backups.
Have you tried setting this up on your device yet? Drop a comment below if you run into any issues, and I’ll do my best to help you troubleshoot. Keep tweaking, and I'll see you in the next post here on Techynoob!
Subscribe to our YouTube channel for daily Android tips, tricks, and tutorials: TechyNoob
Discussion (0)
Post a Comment
No comments yet. Be the first to share your thoughts!