
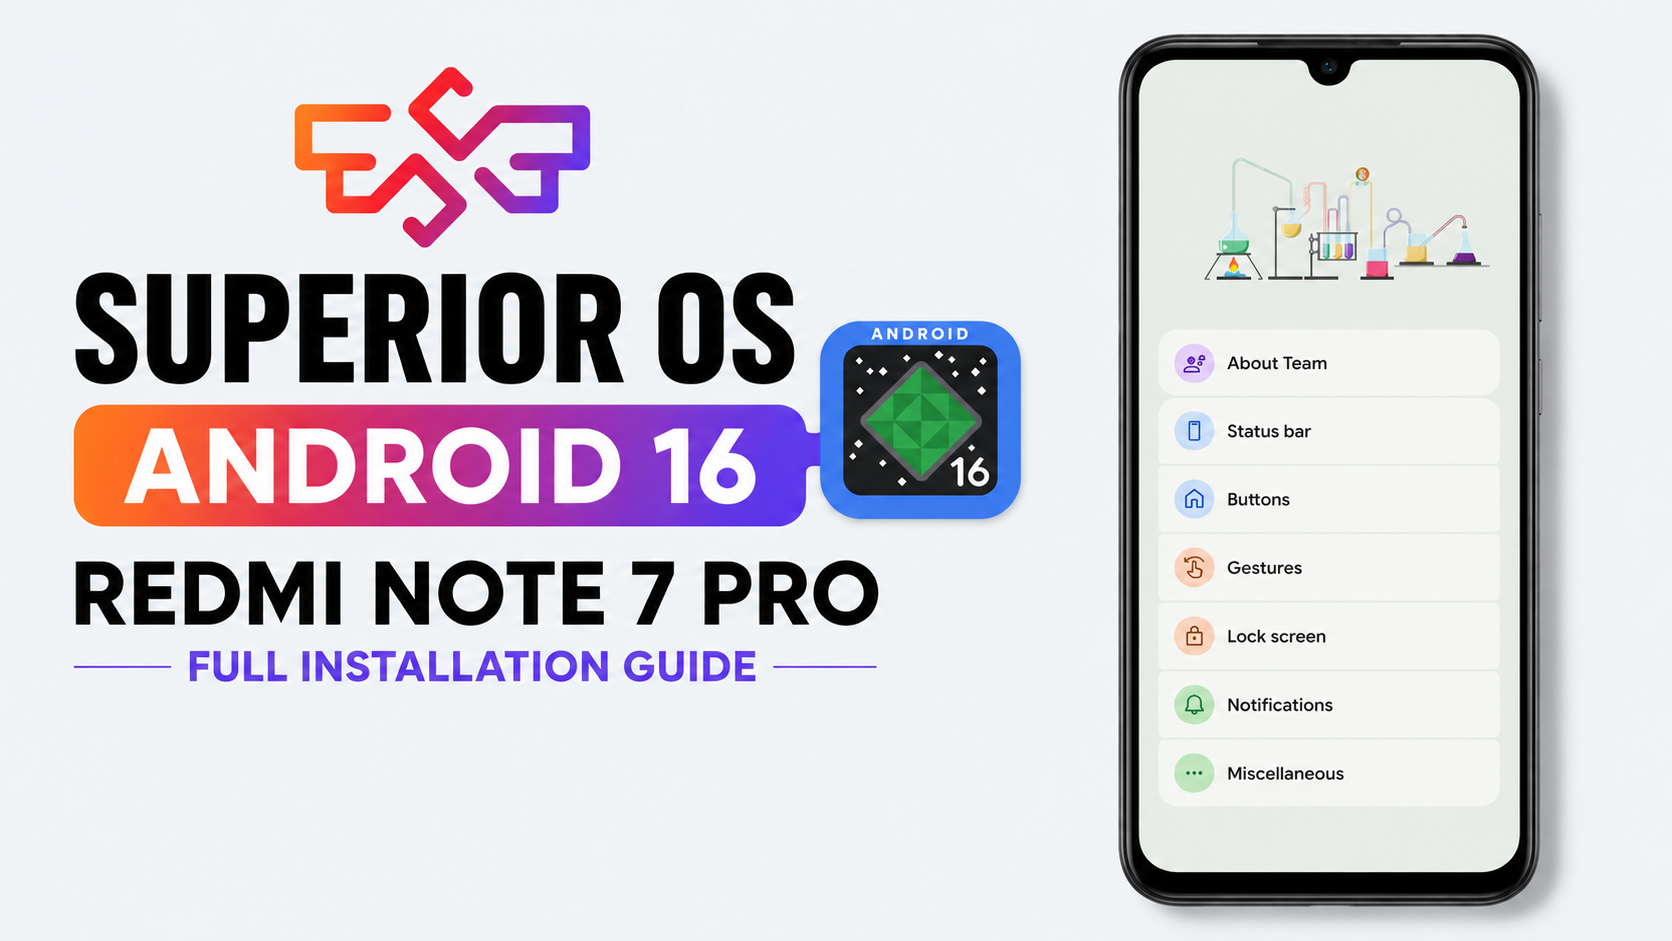
If you're still using a Redmi Note 7 Pro and want to move to an Android 16-based custom ROM, Superior OS is one option you can try. In this guide, I'll walk you through the complete installation process on the Redmi Note 7 Pro, including wiping the required partitions, formatting data, flashing the ROM directly from a USB OTG drive, and completing the initial Android setup.
Important: This guide is specifically for the Redmi Note 7 Pro with the codename violet. Do not flash files intended for another device.
YouTube Video:
Before You Start
There are a few things you need to take care of before entering recovery.
First, your Redmi Note 7 Pro must have an unlocked bootloader. You should also have a compatible custom recovery installed.
You need to make a complete backup of your important data before continuing. The installation process includes formatting the data partition, which means the internal storage will be erased.
Also make sure your battery is charged to at least 30%. You don't want the phone running out of power while you're performing the installation.
Finally, download the correct Superior OS ROM ZIP for the Redmi Note 7 Pro, codename violet.
Download: DOWNLOAD SUPERIOR OS ANDROID 16
If you're using an external USB drive for the installation, copy the ROM ZIP to that drive before beginning.
Boot Into Recovery
Once everything is backed up and ready, reboot the phone into recovery mode.
From Android, hold the power button and choose the restart option. As the screen turns off, immediately press and hold the Volume Up button.
Keep holding it until the recovery screen appears.
For this installation, you can use unofficial TWRP or the official OrangeFox Recovery.
TWRP / OrangeFox: ORANGE FOX RECOVERY, RED TWRP (UNOFFICIAL)
Once you're inside recovery, we can begin cleaning the device.
Wipe the Required Partitions
From the recovery main menu, tap Wipe.
Now choose Advanced Wipe.
Select the following partitions:
- Dalvik / ART Cache
- Cache
- Data
- Metadata
After selecting them, swipe the slider at the bottom to start the wipe.
Once that process finishes, return to the main Wipe menu.
This time, select Format Data.
Recovery will display a confirmation prompt asking you to type yes.
Type yes and confirm the operation.
Formatting data is important here because it completely clears the existing user data and prepares the device for the new operating system. Remember that this also means anything stored in internal storage will be erased, which is why the backup step should be completed before starting.
Flash Superior OS From USB OTG
After formatting data, return to the recovery home screen.
Tap Install.
Because the internal storage has been wiped, you'll need to select a different storage location for the ROM ZIP.
Tap Select Storage.
Choose your USB OTG drive and confirm by tapping OK.
Recovery will now show the contents of your external USB storage.
Navigate to the folder where you saved the Superior OS ROM ZIP.
Select the ROM file and swipe the installation slider to begin flashing.
The installation will take a few minutes. Don't disconnect the USB drive or interrupt the process while recovery is working.
Wait until recovery displays the successful installation message.
Reboot Into Superior OS
Once the ROM has finished installing, select Reboot System.
The phone will restart.
Keep in mind that the first boot can take approximately five to ten minutes. This is normal after installing a new operating system.
Leave the phone alone while it boots. Don't repeatedly press buttons or force a reboot during this stage.
If the device takes longer than expected, give it some additional time before taking further action.
Complete the Android Setup
After the first boot completes, you'll arrive at the Android welcome screen.
Go through the normal Android setup process.
You can connect to Wi-Fi, sign into your Google account, configure your screen lock, and complete the other setup options. If you want to get into the system quickly, some of these steps can also be configured later.
Once setup is finished, you'll reach the new Superior OS home screen.
Check Android 16
Now let's verify that everything installed correctly.
From the home screen, you can check the launcher, open the app drawer, and pull down the Quick Settings panel to see the new interface.
When you're ready, open Settings.
Scroll down to the About Device section and open the software information page.
Here you should be able to see that the phone is running Superior OS based on Android 16.
This final check is useful because it confirms that the new operating system has booted successfully and you're no longer running your previous ROM.
Final Thoughts
That's the complete installation process for Superior OS Android 16 on the Redmi Note 7 Pro.
The important parts are making a full backup before you begin, using files specifically built for the violet, wiping the required partitions, formatting data, and having the ROM available through USB OTG before flashing.
If you're coming from another Android 16 custom ROM, the process gives you a clean starting point for Superior OS. Just take your time during the recovery steps, especially when selecting partitions and formatting data.
ROM Support Group: https://t.me/superioros_violet
YouTube:
Download: SUPERIOR OS ANDROID 16, ORANGE FOX RECOVERY, RED TWRP (UNOFFICIAL)


Discussion (0)
Post a Comment
No comments yet. Be the first to share your thoughts!