
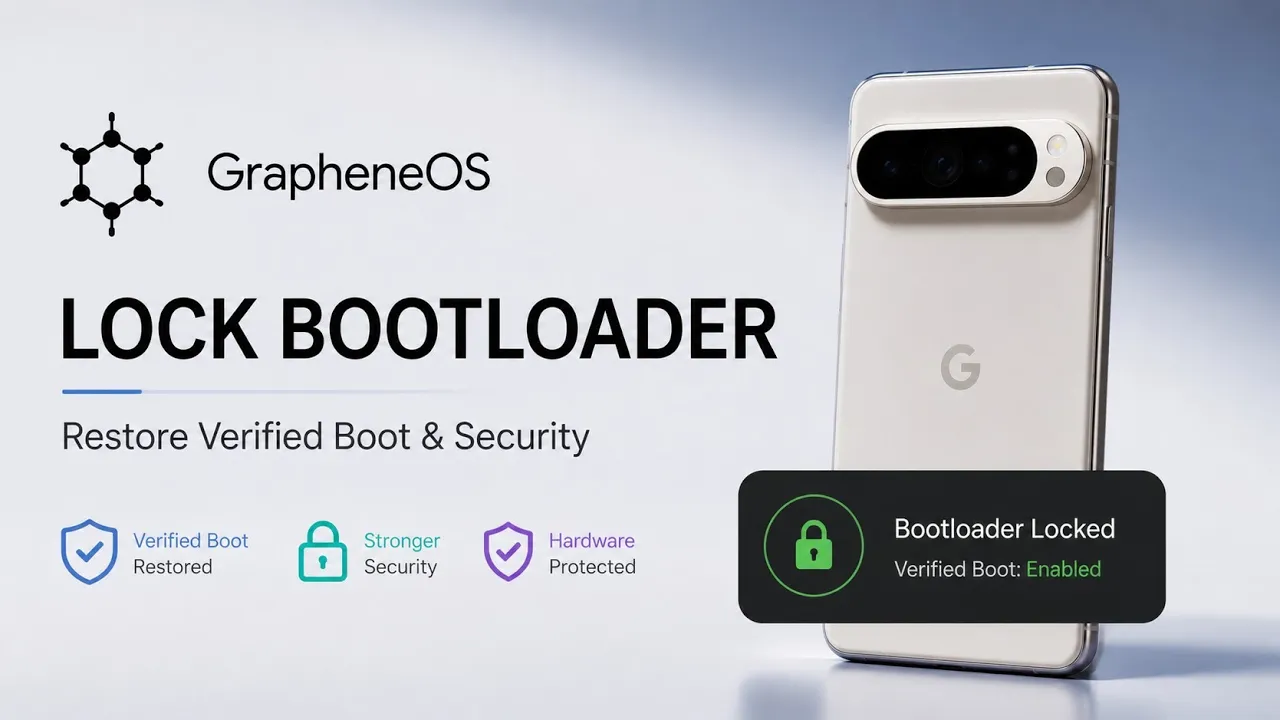
Installing GrapheneOS is only part of the process.
If you followed my earlier installation video, you’ll know that I deliberately left the Google Pixel 6 bootloader unlocked. I did that because I wanted to spend some time testing GrapheneOS before committing the device to its final security configuration.
Once you’re happy with the operating system, however, there’s another important step: locking the bootloader.
This is not just a cosmetic change. A locked bootloader allows the device to make full use of verified boot and hardware-backed security mechanisms.
Why I Left It Unlocked Initially
During the original GrapheneOS installation, the phone was intentionally left unlocked so I could test the operating system first. The installation script explicitly describes this as a temporary testing configuration.
That is useful when you’re experimenting with a new ROM.
But there’s an important difference between testing a ROM and running it as your secured daily operating system.
For the latter, the bootloader should generally be locked when the installation is in a state that supports it.
The Problem With Simply Clicking Lock
This is where the process gets slightly more interesting.
After the system has already been installed and initialized, you can’t necessarily return to the installer and simply press Lock Bootloader.
In my case, the locking process requires reflashing the release first.
The GrapheneOS installer needs the bootloader to be locked as part of the appropriate clean installation state. Because the system has already been booted and initialized, the procedure begins by flashing the release again.
Returning to Bootloader Mode
Start by restarting the Pixel 6 into bootloader mode.
The easiest method is to restart the device and hold Volume Down as it powers back up.
You can also power the phone off completely and hold Power + Volume Down until the fastboot screen appears.
Connect the phone to your computer and open the official GrapheneOS Web Installer.
Video:
Reflashing Before Locking
Once connected, use the installer’s Flash Release option.
The installer will reflash the required system partitions, boot images and firmware components.
During this process, the Pixel can reboot into fastboot several times.
This is the part where patience matters. Keep the USB cable connected and don’t press buttons unless the installer specifically tells you to.
The script describes the flashing stage as taking a few minutes and warns against interrupting the process.
Locking the Bootloader
Once the release has been flashed, return to the Locking the Bootloader section.
Press the blue Lock Bootloader button.
The phone will then display a warning asking you to confirm the operation.
Using the volume keys, move the selection to Lock Bootloader and press the Power button.
The device will then reboot back into the bootloader interface.
Checking the Result
This is the satisfying part.
Look at the bootloader status information.
The script demonstrates the status changing to locked, indicating that the bootloader has been successfully locked.
The significance isn’t simply that the word “locked” appears on screen.
A properly locked configuration allows the device’s verified-boot security chain to provide protection against unauthorized modification of the software running during startup.
What Happens When You Boot Again?
Select Start and press Power.
The Pixel will boot into GrapheneOS.
You may see a brief yellow warning screen indicating that the device is running an alternate operating system with its verified key.
According to the video, this is expected with the locked GrapheneOS setup.
After that, the GrapheneOS boot animation appears, followed by the setup screen.
Because the process involves reflashing, you should expect the device to return to a clean setup state rather than simply continuing exactly where you left off.
Why Verified Boot Matters
Verified boot is one of the most important parts of the security model here.
The basic idea is that the phone can verify that the software being loaded at boot matches what it is expected to be.
An unlocked bootloader gives you freedom to modify the device, which is useful for custom ROM installation and experimentation.
A locked bootloader, combined with the appropriate verified-boot configuration, gives you stronger protection against unauthorized software modification.
That’s why the two states exist for different reasons.
Unlocked: useful for modification and experimentation.
Locked: preferable when you’re finished modifying the system and want the security benefits of verified boot.
Don’t Lock It Until You’re Ready
There’s one practical warning I’d emphasize.
Don’t lock the bootloader while you’re still experimenting with modifications unless you know that your current installation supports a secure locked state.
If you’re using root modifications, custom images or other changes that aren’t compatible with verified boot, locking the bootloader can prevent the device from booting correctly.
So the correct workflow is:
Install → test → make sure everything works → return to the supported clean state → lock the bootloader.
That’s effectively what this two-video process demonstrates.
Final Thoughts
Locking the GrapheneOS bootloader isn’t simply the last button you press after installation.
In my case, because the Pixel 6 had already been booted and initialized while the bootloader was intentionally left unlocked, I had to reflash the release before the installer would allow the locking procedure to complete.
Once locked, the bootloader status confirms the new state and the device can boot back into GrapheneOS with its verified-boot configuration restored.
If you’re using GrapheneOS as a long-term privacy and security setup, this is an important step to understand rather than simply skipping.
Official resource: Use the official GrapheneOS Web Installer and documentation for the current procedure.

Discussion (0)
Post a Comment
No comments yet. Be the first to share your thoughts!