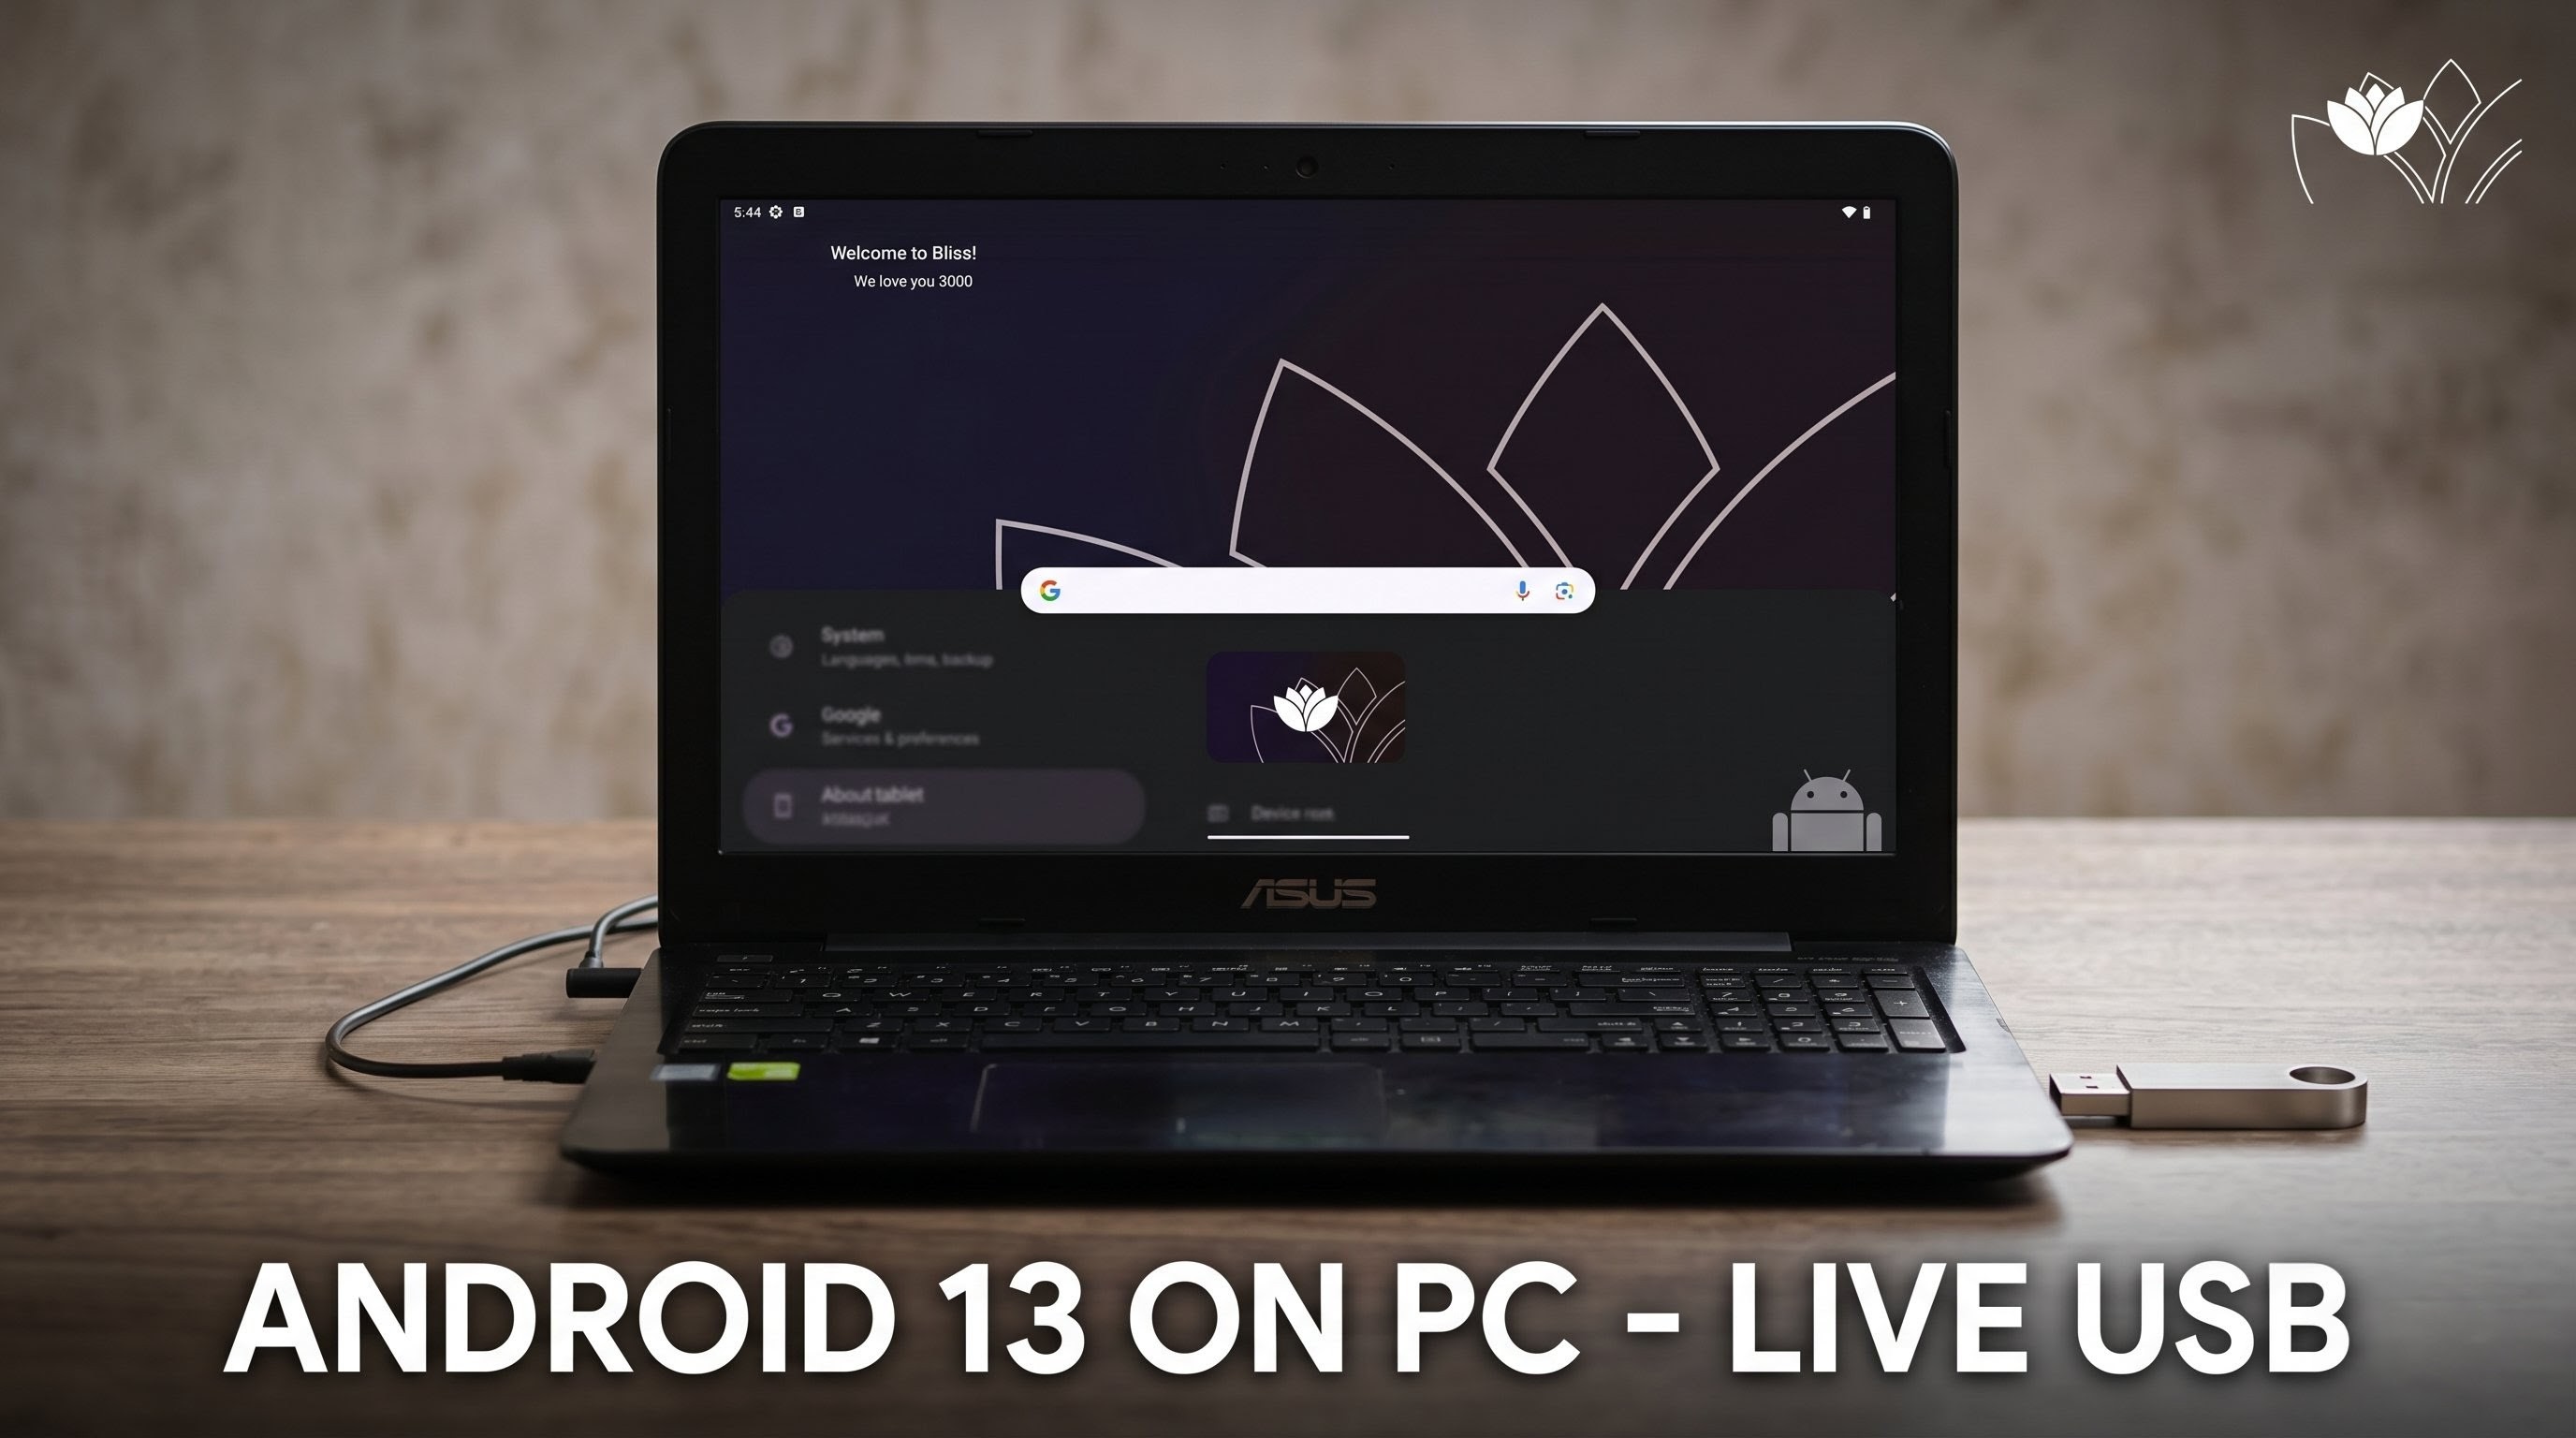
Have you ever wanted to run mobile applications, play mobile games, or experience the Android ecosystem natively on your laptop or desktop computer? While emulators have long been the go-to solution, they are often resource-heavy and slow down your machine. Fortunately, there is a much more efficient alternative: running a dedicated Android-based operating system straight from a USB drive.
BlissOS is an exceptional open-source project designed to bring the Android experience to standard computer hardware. It incorporates deep system optimizations, a complete desktop user interface, and expanded device support to ensure your PC handles mobile tasks seamlessly.
If you are looking for a reliable way to experience Android 13 on your computer without altering your current operating system or touching your hard drive partitions, a live USB installation of BlissOS 16 is the perfect solution. Here is a complete guide on how to get it running on your system.
The Current Status of BlissOS 16
Before diving into the setup process, it is important to understand the current landscape of the BlissOS project. The development team recently placed the main project under a temporary lockdown, pausing active development on newer builds. However, this is no reason to worry. The existing BlissOS 16 release—which is fully based on Android 13—remains highly stable, optimized, and perfectly functional for everyday desktop use. It serves as an excellent, rock-solid version to use for this project.
Prerequisites: What You Will Need
To create a portable, live Android environment, you only need a few basic tools. Make sure you have the following ready before you begin:
- The BlissOS 16 ISO File: This is the core operating system image file. You can download the stable release from official community sources.
- A USB Flashing Utility: You will need a reliable tool to write the ISO image onto your pendrive. BalenaEtcher is a clean, cross-platform choice, but Rufus works perfectly fine as well.
- A USB Pendrive: A standard USB flash drive (preferably USB 3.0 for faster performance) with at least 8 GB of storage space. Ensure that any important data on this drive is backed up elsewhere, as the flashing process will completely format it.
Watch the full tutorial here on my Youtube channel:
Step 1: Creating the Bootable Pendrive
Once you have downloaded the BlissOS 16 ISO file and installed your preferred flashing software, the process of preparing your bootable USB drive is incredibly straightforward.
- Launch the Software: Open BalenaEtcher or Rufus on your computer.
- Select the Image: Click on the Flash from file button, navigate to your local storage, and choose the downloaded BlissOS 16 ISO file.
- Choose the Target Drive: Click on Select target and identify your plugged-in pendrive from the list of external devices. Double-check your selection here to avoid accidentally wiping any secondary internal hard drives.
- Begin Flashing: Click the Flash button. If your operating system prompts you with a security window asking for administrator privileges, grant it.
The software will now write the Android OS files directly to the USB drive and run a quick validation check to prevent data corruption. Once the application explicitly displays a "Flash Complete" notification, you can proceed to the next step.
Step 2: Booting into Your Computer's Boot Menu
With the bootable pendrive ready and still plugged into a USB port, you will need to restart your computer and tell it to boot from the external drive instead of your regular hard drive.
As your machine powers down and starts turning back on, you must immediately begin repeatedly tapping your computer's specific Boot Menu Key. This key varies depending on your device manufacturer. For example, if you are using an Asus laptop, the dedicated key is F8. For other brands, common keys include F12, F11, or Esc.
Once the boot menu screen pops up, use the arrow keys on your keyboard to navigate through the list, highlight your bootable USB flash drive, and press Enter.
Step 3: Launching Live PC Mode
After selecting your USB drive, the BlissOS bootloader menu will load on your screen, presenting you with a few configuration options. From this list, select Live (PC Mode).
Choosing Live Mode is ideal because it allows you to test, explore, and utilize the entire operating system directly from your computer's RAM. It acts as a completely portable environment. A full installation requires creating dedicated, separate disk partitions, which can be risky if you do not have unallocated space available. Running the system strictly as a live OS gives you full functionality without modifying your existing Windows files or local storage.
Once you press Enter, the system will process the core files, and the official, sleek BlissOS boot animation will appear. Because the operating system is initializing entirely from a USB drive, this initial boot sequence might take a minute or two. Just be patient and let the animation complete its cycle.
Step 4: Exploring the Features of BlissOS
When the setup finishes loading, you will be greeted by a fully functional Android 13 desktop interface. Unlike standard mobile layouts, BlissOS turns Android into a natural desktop experience:
- Desktop UI and Taskbar: The interface includes a traditional taskbar at the bottom of the screen, complete with a system tray and a dedicated start menu for smooth application tracking.
- Multi-Window Support: You can open multiple Android applications at once, resize them, and arrange them side-by-side, mimicking a true desktop multitasking environment.
- Expanded Hardware Compatibility: Thanks to an optimized Linux kernel, BlissOS features excellent out-of-the-box support for PC hardware, including Wi-Fi cards, Bluetooth modules, audio components, and graphics drivers.
Conclusion
Running BlissOS 16 from a live USB is one of the safest and most efficient ways to enjoy a desktop-class Android 13 experience on standard computer hardware. It is a fantastic project for breathing new life into older laptops, testing Android applications, or enjoying mobile games with the precise control of a mouse and keyboard.
Subscribe to my Youtube channel for daily android tips tricks and tutorials: TechyNoob
Discussion (0)
Post a Comment
No comments yet. Be the first to share your thoughts!