
Installing a custom operating system doesn’t have to be a one-way decision.
If you’ve tried GrapheneOS and decided that you want to return to Google’s stock Pixel software, the Pixel 6 can be restored using Google’s official Android Flash Tool.
There is, however, one extra step that makes returning from GrapheneOS different from simply flashing another Android build.
GrapheneOS uses its own Android Verified Boot key. Before returning to official stock software, that custom key needs to be removed so the device can return to the appropriate factory trust state.
That’s the part that makes this process worth explaining separately.
Start From GrapheneOS
In this walkthrough, the phone is currently running GrapheneOS.
The first thing we need to do is make sure the bootloader can be unlocked again.
Open Settings → About phone and tap Build number seven times to enable Developer Options.
Then go to:
Settings → System → Developer options
and enable OEM unlocking.
The video demonstrates this process before moving on to the bootloader stage.
Video:
Boot Into Fastboot
Power the Pixel 6 off.
Then hold Power + Volume Down together until the fastboot screen appears.
Once you see the Android bootloader interface, connect the phone to your computer with a USB-C cable.
Use the GrapheneOS Web Installer First
This is the unusual part of the process.
Rather than immediately opening Google’s Android Flash Tool, return to the official GrapheneOS Web Installer.
Connect the Pixel and select Unlock bootloader.
The phone will display a warning asking you to confirm that you want to unlock the bootloader.
Use the volume keys to select the unlock option and press Power.
The device will perform a factory reset and return to fastboot mode.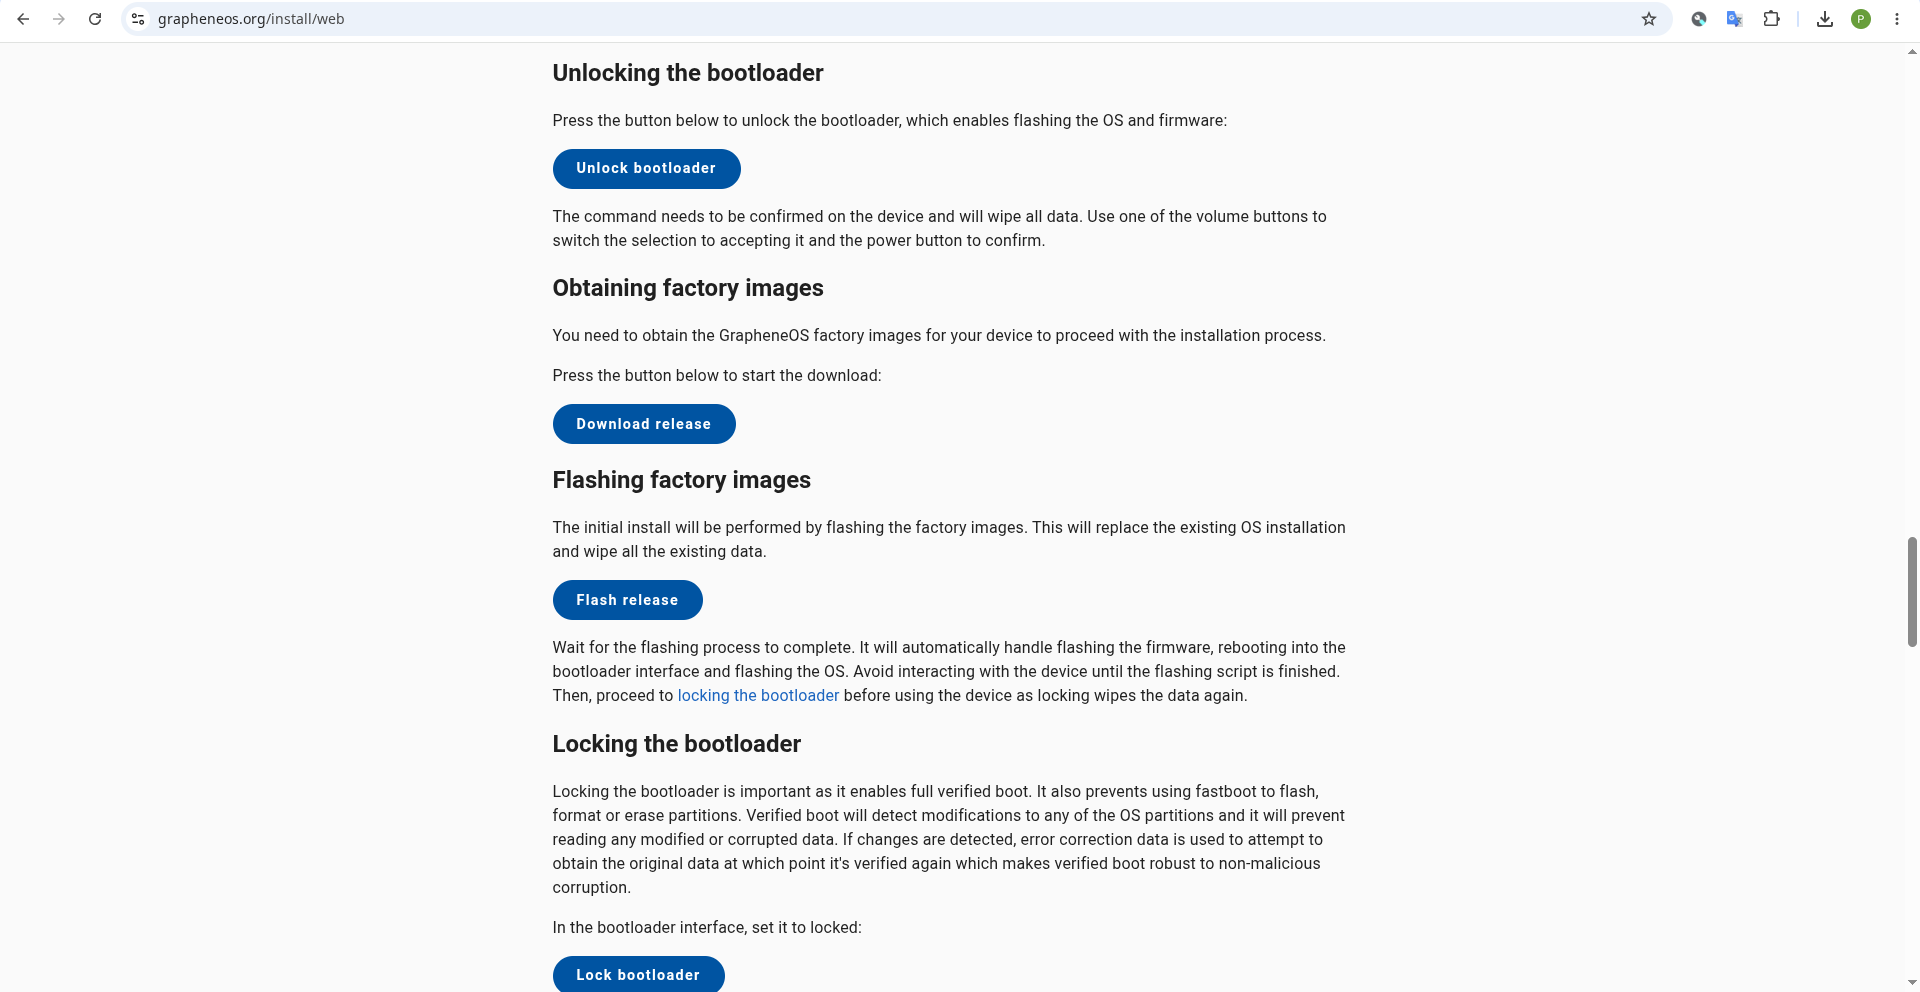
Remove the Custom Verified Boot Key
Once the bootloader has been unlocked, the next step is extremely important.
In the GrapheneOS Web Installer, select:
Erase custom Android Verified Boot key
This removes the custom GrapheneOS trust configuration so the device can return to the factory software trust state.
The script specifically identifies this as a required step before using Google’s stock flashing tools.
Don’t skip this step simply because the phone is already in fastboot mode.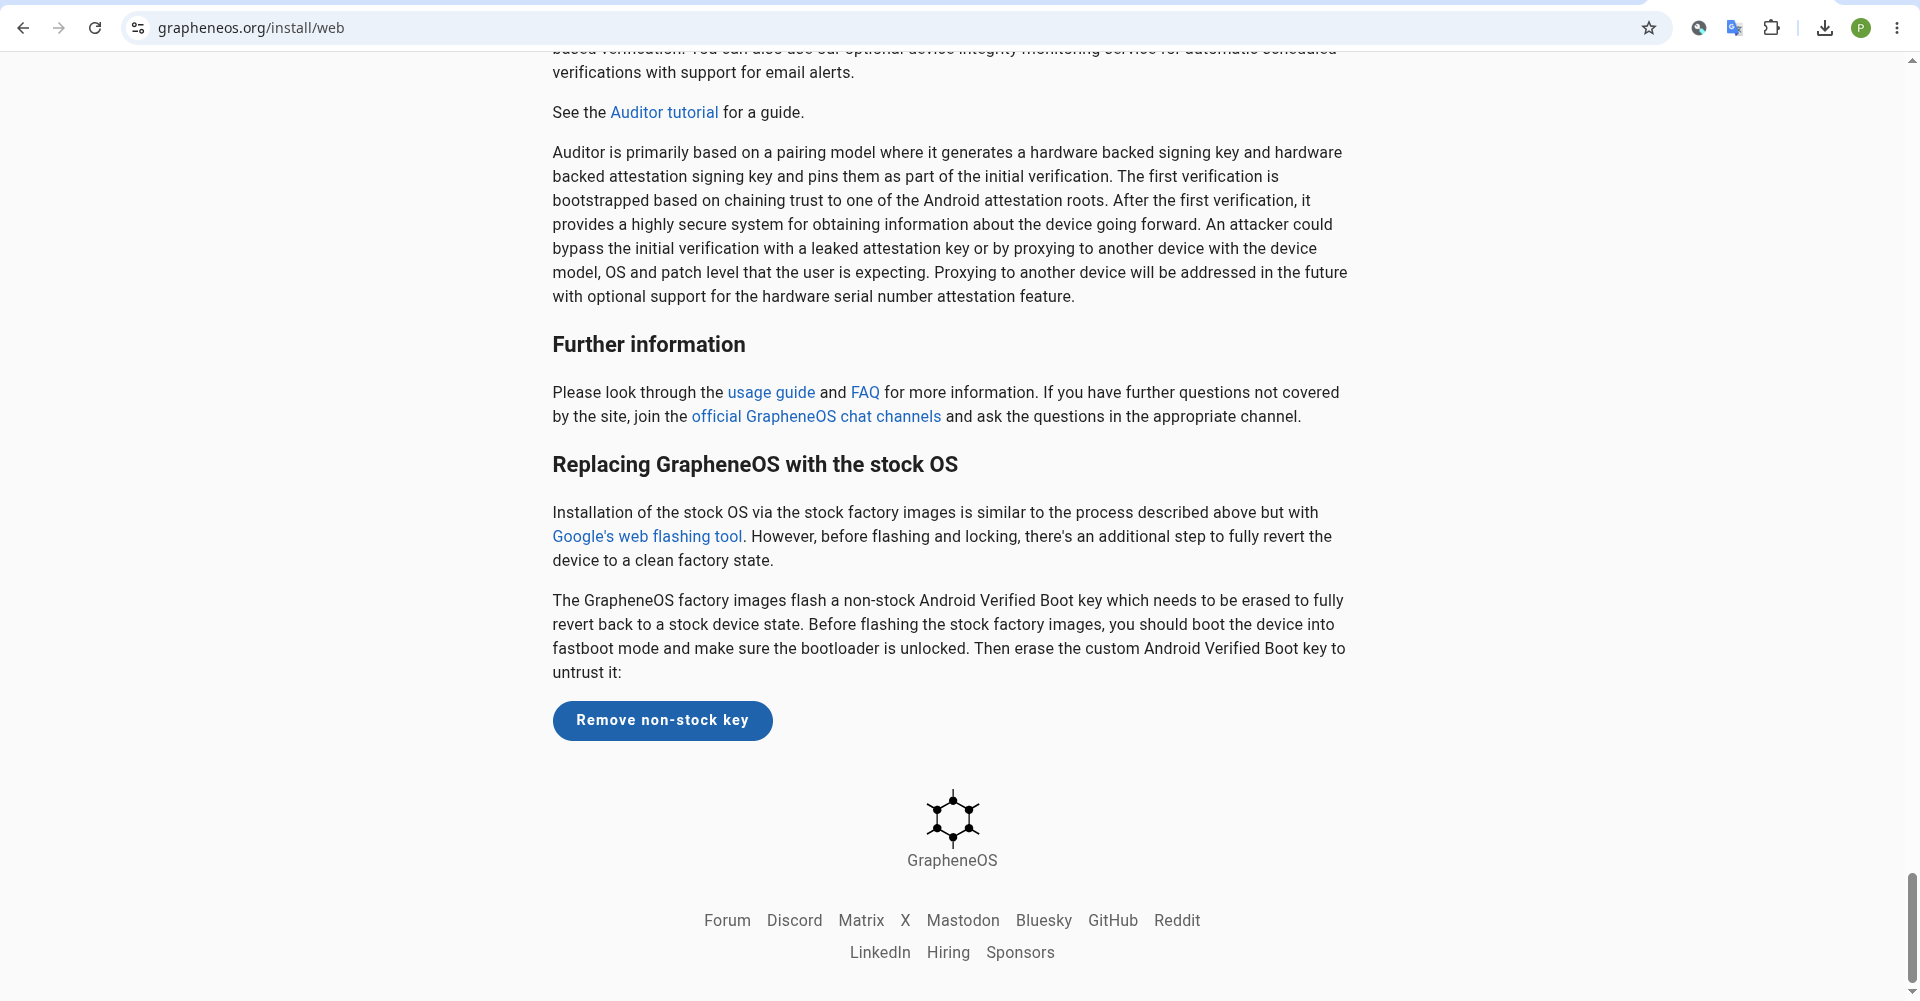
Open Google’s Android Flash Tool
Now open Google’s official Android Flash Tool in a new browser tab.
The video notes that you may initially encounter a device-disconnected or communication error after erasing the custom verified-boot key.
In the demonstration, the solution is simply to power-cycle the phone back into bootloader mode and reconnect it.
Once the USB connection is established again, the Android Flash Tool should be able to recognize the Pixel.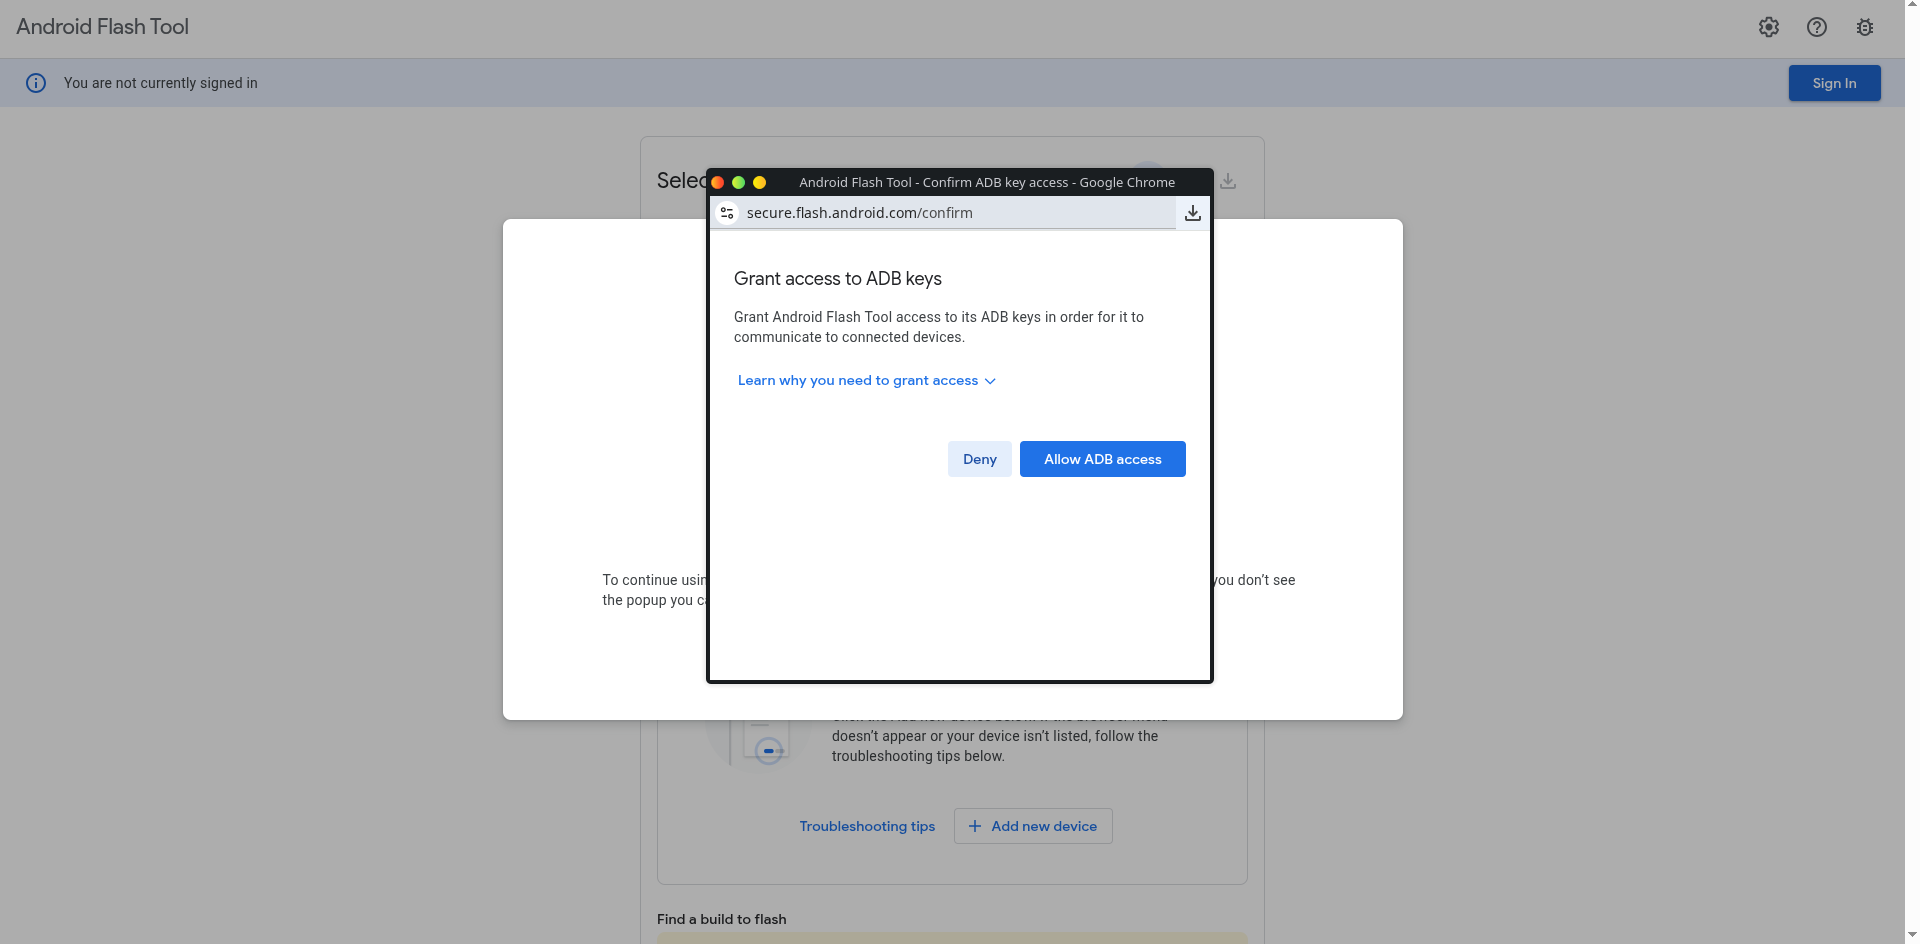
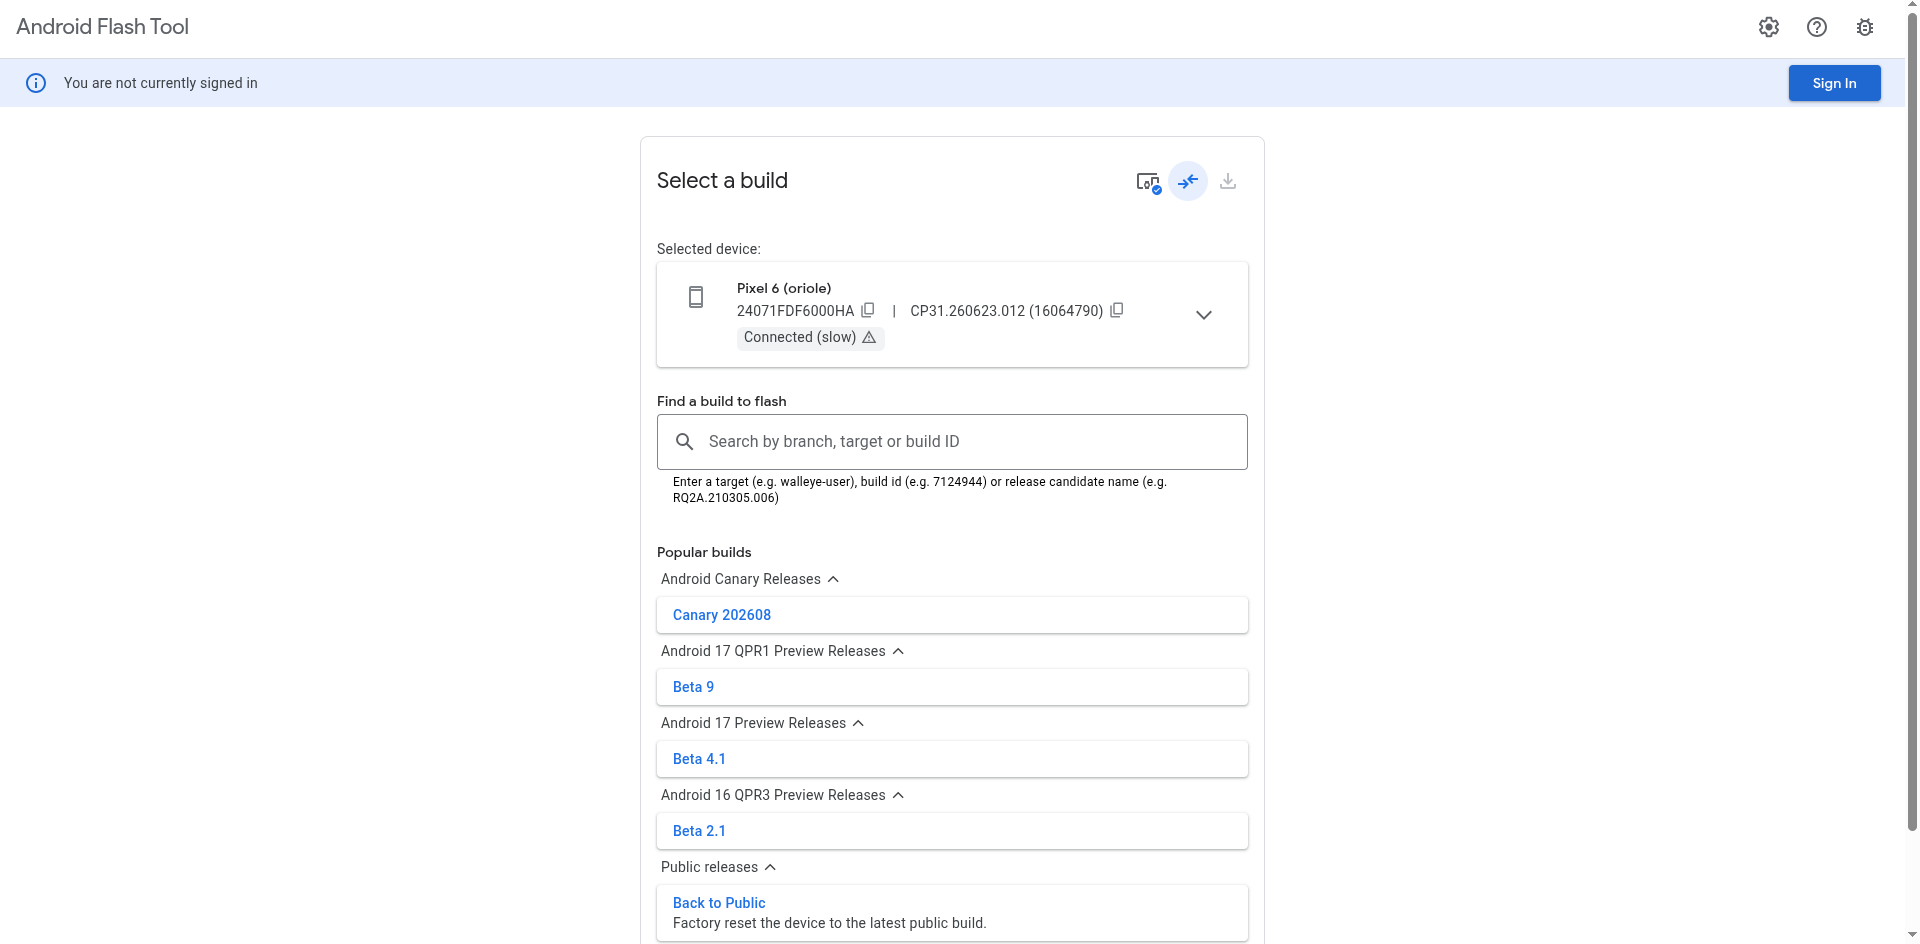
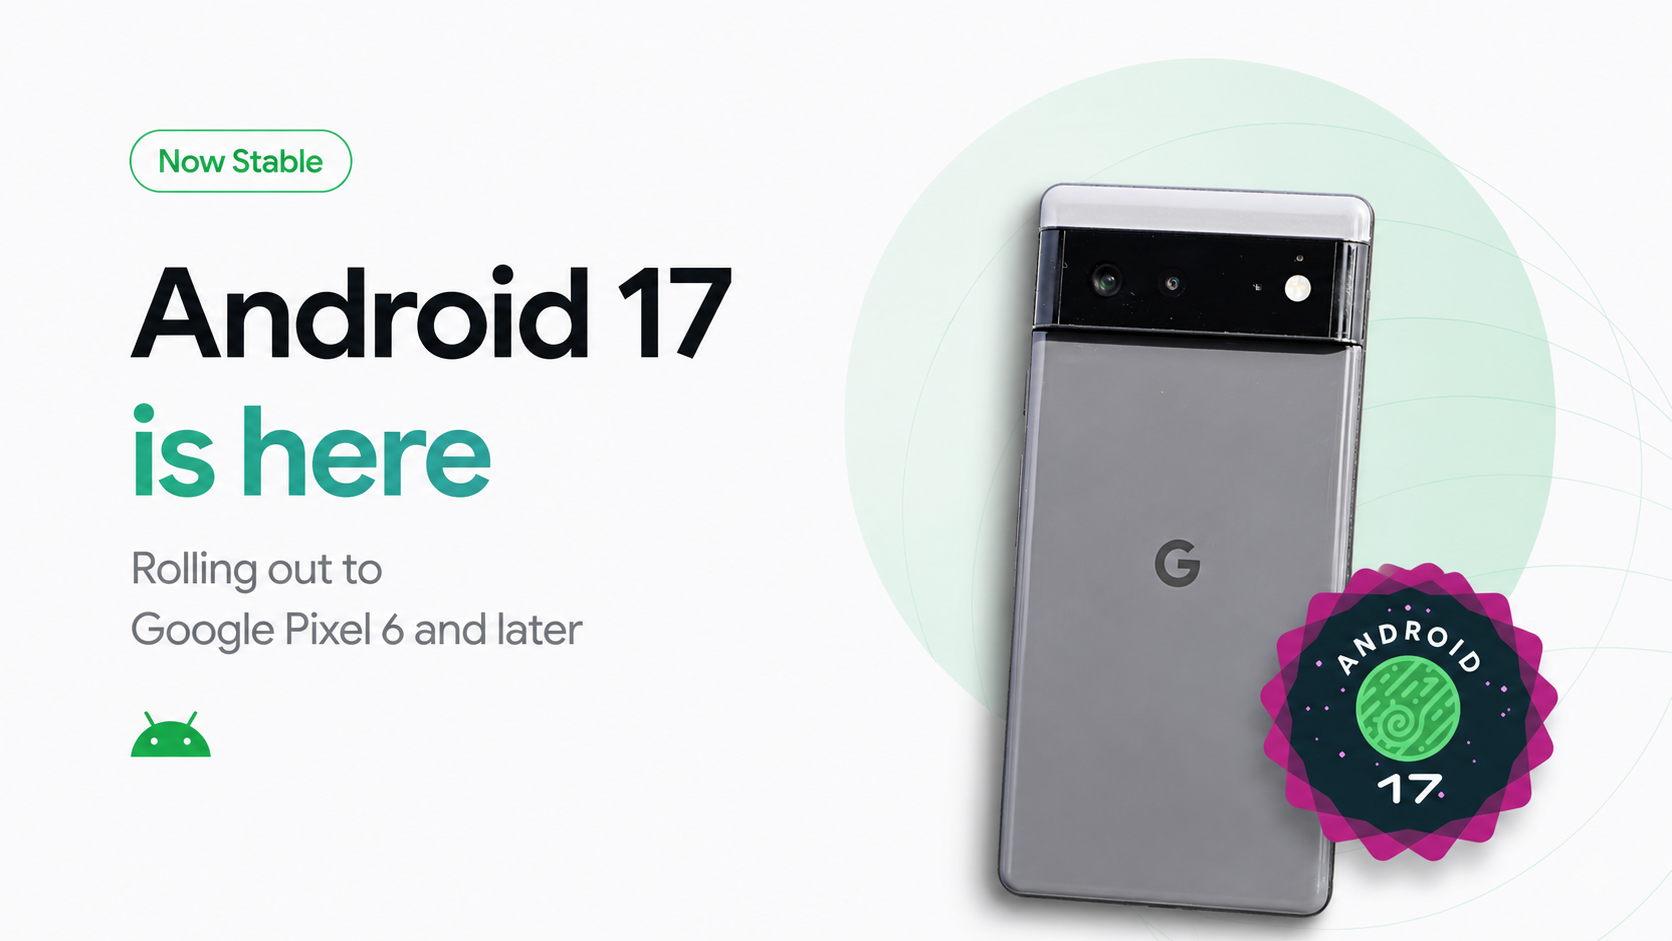
Select Stock Android 17
The tool provides a list of available factory software builds.
For this walkthrough, the target is the stock Android 17 build.
Before starting the installation, you’ll also see advanced configuration options.
One of those is Lock Bootloader.
If your goal is a completely stock factory-style installation, leaving that option enabled is appropriate.
In my video, however, I intentionally disable it because the Pixel is going to be used for another rooting project later.
That is an important distinction: the correct setting depends on what you’re planning to do with the device next.
Flashing Stock Android
With the desired options selected, click Install Build and accept the terms.
The Android Flash Tool then downloads and flashes the required factory software.
The process can involve multiple transitions between fastboot and fastbootd as different components are written.
Just like with a custom ROM installation, don’t disconnect the USB cable while the flashing process is underway.
First Boot
Once everything has finished, the tool displays a successful installation message and the Pixel restarts.
You should then see the familiar Google boot animation followed by the Android 17 setup screen.
The video confirms that the device has been restored to stock Android 17 with the original factory software components.
At this point you can configure the phone normally, sign into your Google account and restore your applications and data.
What About Root?
The interesting part of this particular tutorial is that the bootloader remains unlocked intentionally.
That’s because the video is setting up the Pixel for a future rooting and modification project.
If you simply want a completely stock and locked Pixel, you would use the Android Flash Tool’s bootloader-locking option instead.
Again, the correct choice depends on your intended use.
Why This Process Is Different From a Normal ROM Swap
If you’ve flashed custom ROMs before, you might wonder why GrapheneOS requires this additional step.
The reason is its verified-boot trust model.
GrapheneOS establishes its own custom Android Verified Boot key, and that trust relationship needs to be removed before returning to Google’s factory software.
The process demonstrated in this video therefore isn’t simply:
GrapheneOS → Android Flash Tool → Stock Android
It’s:
GrapheneOS → unlock bootloader → erase custom AVB key → Android Flash Tool → stock Android
That extra step is the important detail.
Final Thoughts
Returning to stock Android is relatively straightforward once you understand the order of operations.
The most important part is removing the GrapheneOS custom Android Verified Boot key before attempting to restore Google’s factory software.
After that, Google’s Android Flash Tool can take over and restore the Pixel 6 to the selected stock Android 17 build.
If you’re planning to return to stock, take your time and follow the sequence rather than jumping directly between tools.
And, as always, back up your important data first.
Official resources: GrapheneOS Web Installer and Google’s Android Flash Tool.
Discussion (0)
Post a Comment
No comments yet. Be the first to share your thoughts!