
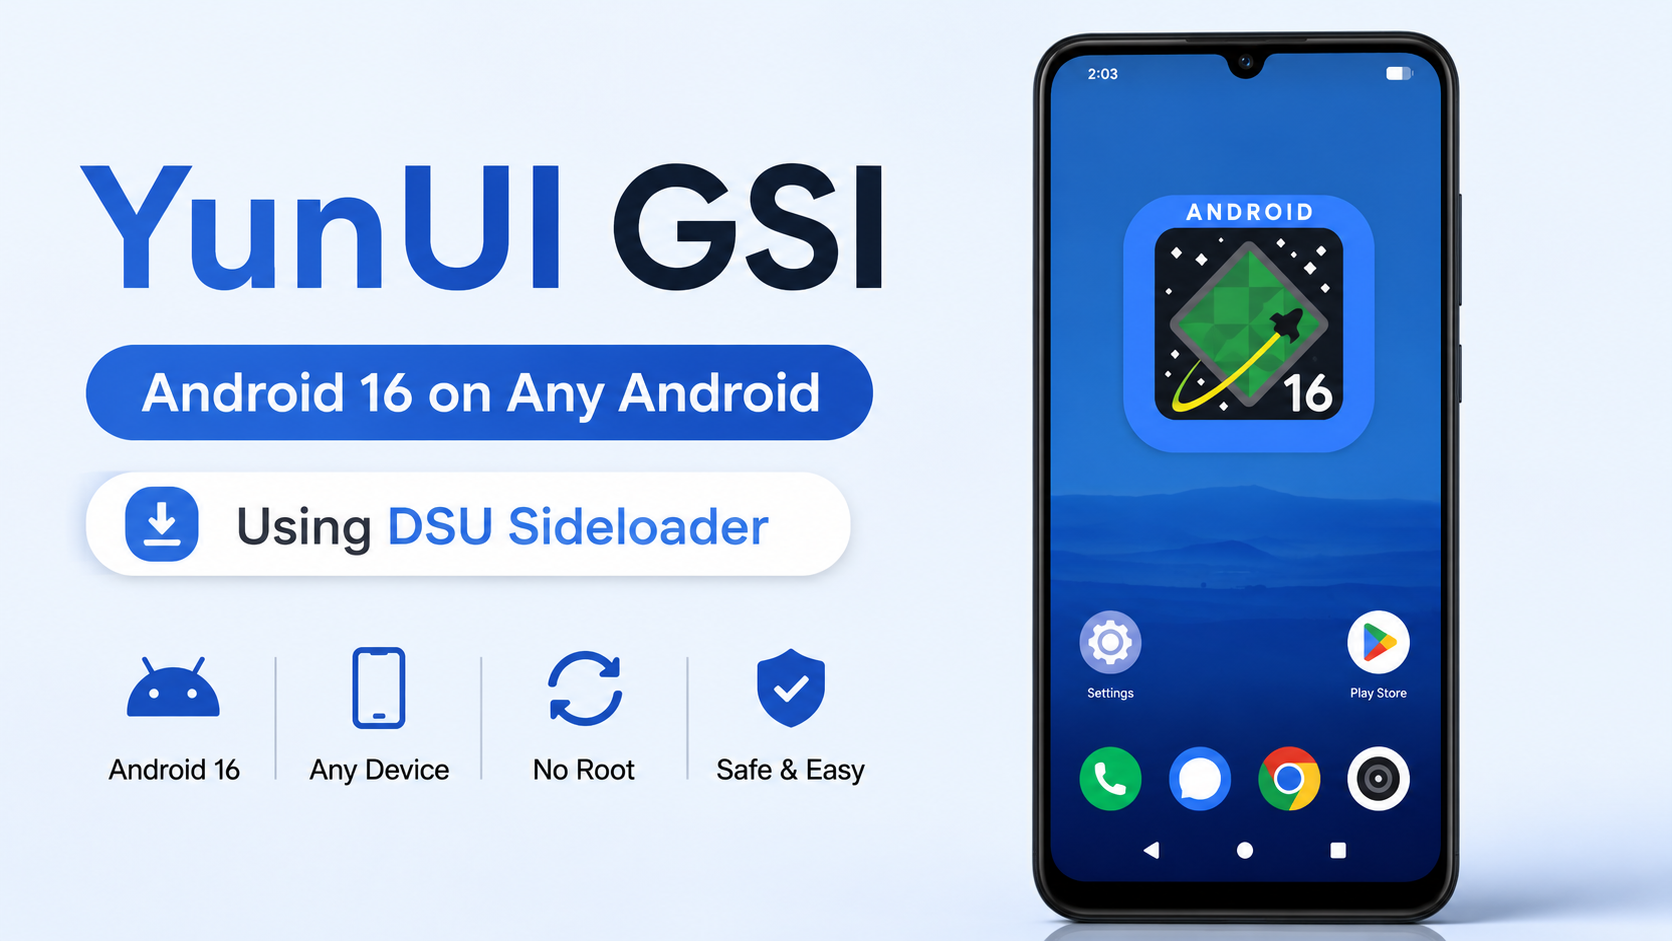
operating system on your phone? A Generic System Image, or GSI, can be a useful way to test a compatible Android system while keeping your existing setup available.
In this guide, you’ll learn how to install YunUI GSI using DSU Sideloader. The advantage of using Dynamic System Updates is that you can test the GSI without permanently overwriting the stock system partition or performing a complete data wipe as part of the GSI installation process.
YunUI provides a clean and feature-rich Android experience, and DSU Sideloader makes it possible to install and boot the GSI from Android without going through a traditional custom ROM installation.
What You Need Before Starting
Before beginning, make sure you have the following:
- An Android phone compatible with DSU
- DSU Sideloader installed
- The YunUI GSI ROM ZIP
- Enough available storage for the GSI and userdata
- A compatible GSI for your device configuration
You should also understand that GSI compatibility can vary between devices. A GSI that works correctly on one phone may not provide the same results on another, so don’t assume that every device will behave identically.
Download the Correct YunUI GSI
The first step is to obtain the YunUI GSI package you want to test.
The ROM package comes in two filesystem variants:
- EXT4
- EROFS
Choosing the correct version is important because the filesystem used by your device determines which GSI package you should select.
For the demonstration in this tutorial, the device is a Redmi Note 7 Pro, which uses EXT4. Therefore, the EXT4 version of YunUI is selected.
If you’re using another device, verify which filesystem configuration applies to your phone before proceeding.
Download: YunUI GSI
Install and Configure DSU Sideloader
Once the YunUI GSI ZIP is downloaded, make sure DSU Sideloader is installed on your phone.
DSU Sideloader provides a convenient interface for working with Dynamic System Updates. Instead of manually working through multiple commands, you can select the GSI package through the application’s interface and begin the installation process.
Select the YunUI GSI
Open your file manager and locate the YunUI GSI ZIP you downloaded.
Double-check the file before continuing. Make sure you’ve downloaded the intended filesystem variant and that the ZIP isn’t incomplete or corrupted.
Now launch DSU Sideloader.
Select the YunUI GSI ZIP from your device storage. The application will prepare the package for installation.
At this stage, you may also be asked to specify your preferred userdata size. Choose an appropriate size based on how much storage you have available and how you intend to test YunUI.
Once everything is configured, start the installation.
Wait for the GSI Installation
DSU Sideloader will begin installing the YunUI GSI.
The process can take some time, so don’t close the application or interrupt the installation while it is working.
When the installation has completed, Android should display a notification indicating that the Dynamic System Update is ready. From there, you can restart the phone and boot into the newly installed YunUI environment.
Remember that this is different from permanently flashing a conventional custom ROM. DSU is designed to provide a temporary system environment that can be switched back to your existing system.
Reboot Into YunUI
After the installation finishes, use the reboot option provided by the DSU notification.
Your phone will restart, and you should see the boot animation for the YunUI system. In the demonstration, the boot process displays a gear-style animation before continuing to the Android setup screen.
The first boot can take longer than a normal restart, particularly when launching a new system environment for the first time.
Give the device enough time to complete the boot process rather than assuming that a longer boot automatically means something has gone wrong.
Complete the Android Setup
Once YunUI starts, you’ll reach the standard Android setup process.
Select your preferred language, connect to Wi-Fi, and complete the basic configuration steps.
After setup is complete, you’ll arrive at the YunUI home screen.
The demonstration shows the YunUI launcher, app drawer, and system interface. The Settings application provides a clean interface with customization options, while the About Phone section identifies the installed YunUI environment.
The demonstration also shows Android 16 as the Android version, including the Android 16 Easter egg accessible through the Android version screen.
Check the YunUI Installation
After completing setup, spend a few minutes checking the important parts of the system.
Open Settings → About Phone and verify that YunUI is shown correctly.
You can also check:
- Android version
- Basic system navigation
- Launcher and app drawer
- Settings functionality
- Wi-Fi connectivity
- General system responsiveness
Don’t immediately rely on the first few minutes of usage to judge long-term stability. A GSI is a generic system image, and hardware-specific features can behave differently depending on the device.
The YunUI demonstration provides a polished interface and smooth animations on the test device, but your experience may differ depending on your phone’s hardware and software configuration.
Why Use DSU Instead of a Traditional ROM Flash?
One of the biggest advantages of this approach is that you can experiment with a different Android system without treating it like a permanent custom ROM installation.
A traditional ROM installation can involve unlocking the bootloader, wiping data, flashing partitions, and preparing recovery environments. DSU provides a different approach by creating a separate dynamic system environment.
That makes it useful when you simply want to test a GSI before committing to a full ROM installation.
If you don’t like the YunUI experience or encounter compatibility problems, you can return to your original system rather than having permanently replaced the stock system partition as part of this GSI setup.
Important Things to Keep in Mind
Although DSU makes testing easier, you should still approach GSI installation carefully.
First, use the correct YunUI variant. The EXT4 and EROFS packages are not interchangeable simply because they are both YunUI builds.
Second, make sure your device supports the required DSU/GSI functionality.
Finally, remember that a GSI is designed as a generic Android system image. Device-specific features may not work exactly like they do on the manufacturer’s original firmware.
For the Redmi Note 7 Pro used in this walkthrough, the EXT4 YunUI package is selected specifically for the device’s filesystem configuration.
Final Thoughts
Installing YunUI through DSU Sideloader is an interesting way to experiment with a different Android interface without immediately committing to a traditional custom ROM installation.
The overall process is straightforward: download the appropriate YunUI GSI, identify whether you need the EXT4 or EROFS version, open DSU Sideloader, select the GSI ZIP, configure userdata, install it, and reboot into the new system.
Once YunUI boots, complete the Android setup and verify the system through Settings and About Phone.
If you’re interested in testing Android-based custom systems but don’t want to immediately replace your existing installation, DSU and compatible GSIs can provide a practical testing environment.
Developer/Credits: https://t.me/DroidBitFiles/454?single
https://github.com/VegaBobo/DSU-Sideloader
YouTube Walkthrough:
Always verify compatibility before installing a GSI, keep important data backed up, and understand the recovery options available for your particular device.

Discussion (0)
Post a Comment
No comments yet. Be the first to share your thoughts!