
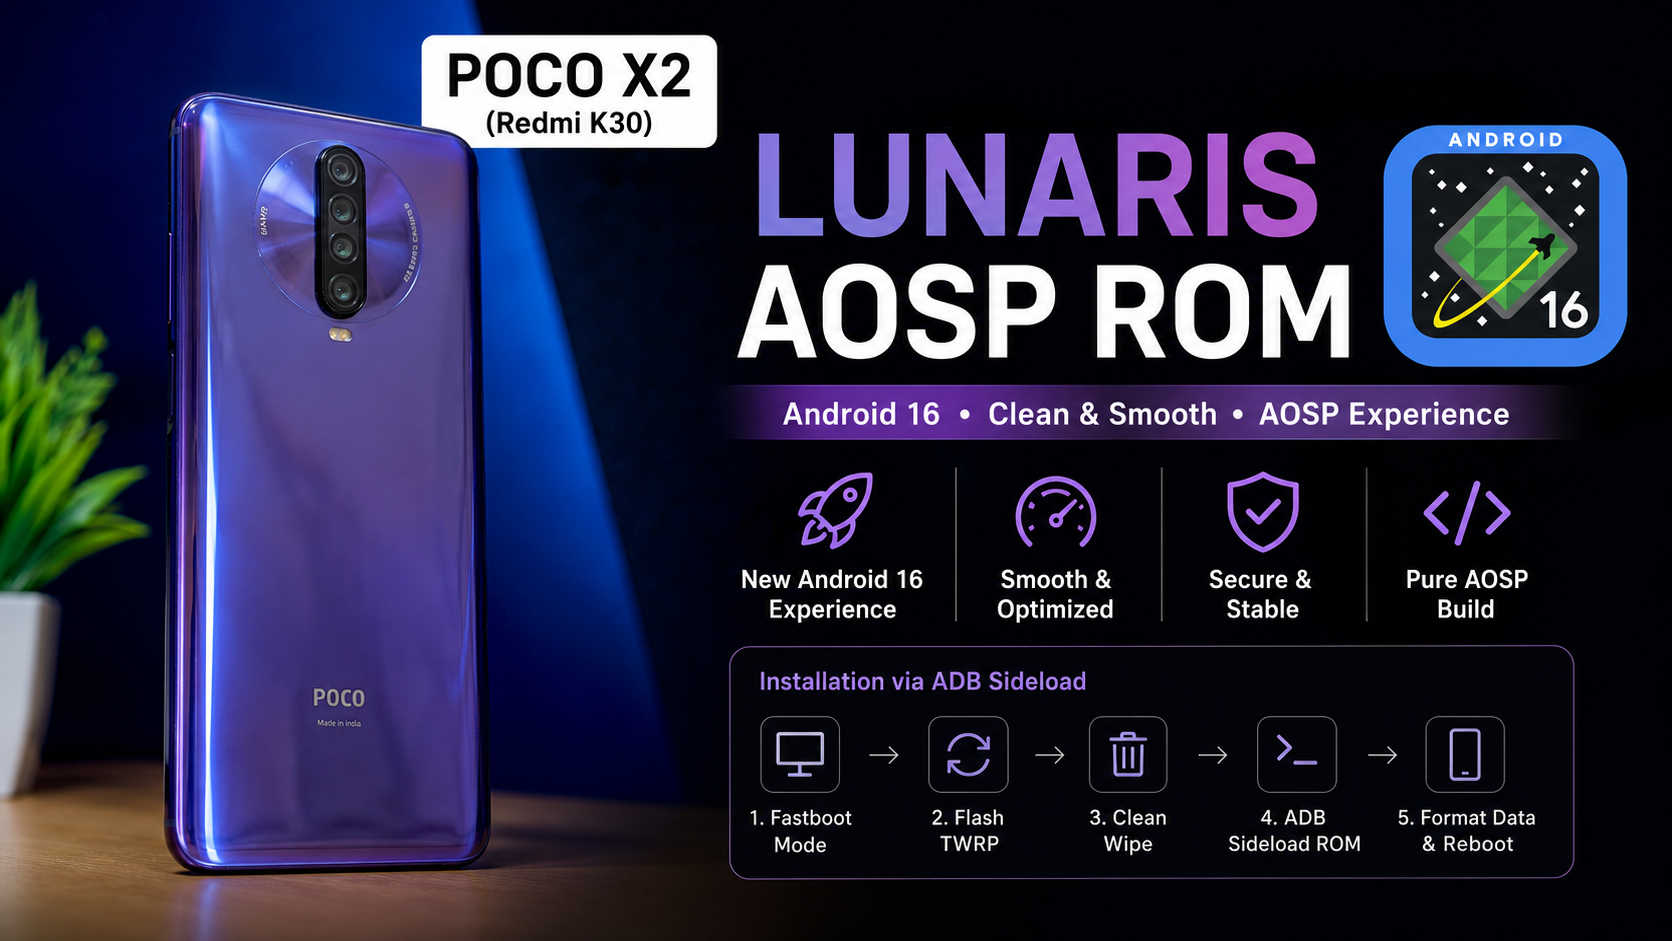
The POCO X2 (also known as the Redmi K30 4G) remains one of the most resilient mid-range smartphones ever released. While official software support ended long ago, the custom ROM community has continuously breathed new life into this hardware. If you are currently running older software or even an Android 15-based custom ROM like Bliss OS and looking for something exceptionally stable, smooth, and refined, the Lunaris AOSP ROM is exactly what your device needs.
Moving a daily driver to a new ROM requires a balance of performance, battery longevity, and security. Lunaris AOSP, backed by the Unholy Kernel, brings exactly that to the table. Let’s break down what makes this ROM special, how it performs in everyday use, and a complete step-by-step walkthrough to flash it flawlessly.
Why This Custom ROM Stands Out for Daily Use
Finding a custom ROM that checks every box for a daily driver can be challenging. Many builds offer incredible customization but fall short on stability. Lunaris AOSP takes a different approach by focusing heavily on core optimization.
Because it is a signed build fully synced with the latest upstream LineageOS changes, it feels incredibly secure and stable. The integration of the Unholy Kernel 2.4 provides a massive advantage, striking a perfect balance between aggressive performance when launching apps and deep-sleep power saving when the phone is sitting on a desk. The UI transitions are fluid, app opening speeds are brisk, and the overall system responsiveness gives the hardware a distinctly modern feel.
Battery Impact and Performance Analysis
A common concern when flashing any AOSP-based ROM on an older device is battery degradation. During extensive testing, the combination of Lunaris AOSP and the Unholy Kernel proved to be highly efficient.
- Battery Life: For typical daily tasks—social media scrolling, web browsing, music streaming, and casual messaging—the power drain is linear and predictable. You can comfortably expect a full day of use on a healthy battery, with excellent idle drain optimization that ensures the phone loses minimal charge overnight.
- Performance: Thermal management is well-regulated. The device stays cool during continuous multitasking, avoiding the sudden thermal throttling common in poorly optimized builds. The 120Hz display refresh rate feels incredibly optimized here, with minimal micro-stutters when pulling down the notification shade or navigating complex applications.
Watch the full tutorial here on our Youtube channel:
Important Maintainer Notes Before You Begin
Before proceeding with the installation, it is crucial to review the official recommendations provided by the ROM maintainer to prevent potential bootloops or data corruption:
- Use Official Recovery: Ensure you are using the absolute latest official version of TWRP recovery.
- Clean Flash Mandatory: A clean flash is highly recommended. Upgrading from another ROM layout without wiping will cause system instability.
- GApps Selection: If you download the Vanilla build variant of the ROM, you will need to manually flash MindTheGapps to restore Google Play Services and the Play Store.
Disclaimer: Flashing custom software carries an inherent risk of data loss. Ensure all your critical data, photos, and documents are securely backed up to a cloud service or an external drive before continuing.
Step-by-Step Installation Guide
This procedure assumes your device already has an unlocked bootloader. Follow these steps meticulously to ensure a successful installation.
Step 1: Prepare Your Computer Environment
Depending on your desktop operating system, set up your command-line environment:
- Windows Users: Download the official Android SDK Platform-Tools zip file, extract it to a convenient folder, and open a Command Prompt window inside that specific directory.
- Linux Users: Open your terminal and install the standard platform tools directly via your package manager using the command sudo apt install android-tools-adb android-tools-fastboot.
Step 2: Boot Into Fastboot Mode
- Power down your POCO X2 completely.
- Hold the Volume Down and Power buttons simultaneously until the classic Fastboot logo appears on the screen.
- Connect the phone to your computer using a reliable USB cable.
Step 3: Flash the Latest TWRP Recovery
- Open your terminal or command prompt window.
- Type fastboot devices and hit Enter to confirm your computer successfully recognizes the smartphone. A unique serial number sequence should appear.
- Type fastboot flash recovery (include a space after the word recovery), then drag and drop your downloaded TWRP .img file directly into the terminal window. Press Enter to flash.
Step 4: Perform an Advanced Wipe
- On your device, hold the Volume Up and Power buttons together until the phone vibrates and reboots directly into the new TWRP recovery menu.
- From the home screen of TWRP, navigate to Wipe > Advanced Wipe.
- Select the following specific partitions: Dalvik / ART Cache, Cache, Metadata, and Data.
- Swipe the slider at the bottom to execute the format. Once completed, return to the main menu.
Step 5: Sideload the Lunaris AOSP ROM
- In the TWRP menu, navigate to Advanced and select ADB Sideload. Swipe the slider to initiate the sideload server interface.
- Switch back to your computer terminal and type adb sideload , then drag and drop the Lunaris AOSP ROM .zip file into the window.
- Press Enter. A percentage counter will track the installation progress. Wait patiently until it reaches completion.
Step 6: Format Data and Boot
- Once the sideload process finishes successfully, hit the back button to reach the main TWRP menu.
- Go to Wipe, select Format Data, type the word yes, and confirm the action. This step removes remaining storage encryption barriers and ensures the system boots cleanly.
- Select Reboot System. The phone will display the POCO logo, followed shortly by the new Lunaris boot animation. The initial boot can take a couple of minutes to configure the new system files.
Potential Bugs and How to Fix Them
While the build is highly stable, minor configuration quirks can arise depending on your regional carrier setup or previous firmware history.
- Encryption Issues: If you encounter a situation where the device boots but prompts you with a storage error or fails to read internal directories properly, it generally indicates that the final data format step was skipped. Re-entering TWRP and performing a full Format Data (typing yes) resolves this completely.
- Camera Performance: The default AOSP camera package included in many clean builds is relatively basic. To unlock the full potential of the POCO X2’s multi-lens camera setup, it is highly recommended to install a stable Google Camera (GCam) port alongside a matching XML configuration file specifically tuned for the IMX686 sensor.
Final Verdict
Lunaris AOSP successfully transforms the POCO X2 into a snappy, responsive modern device capable of holding its own against newer mid-range hardware. By sticking close to clean AOSP roots and pairing the system with a robust upstream kernel, the developers have delivered a reliable package tailored perfectly for daily usage.
Subscribe to our YouTube channel for daily Android tips, tricks, and tutorials: TechyNoob

Discussion (0)
Post a Comment
No comments yet. Be the first to share your thoughts!