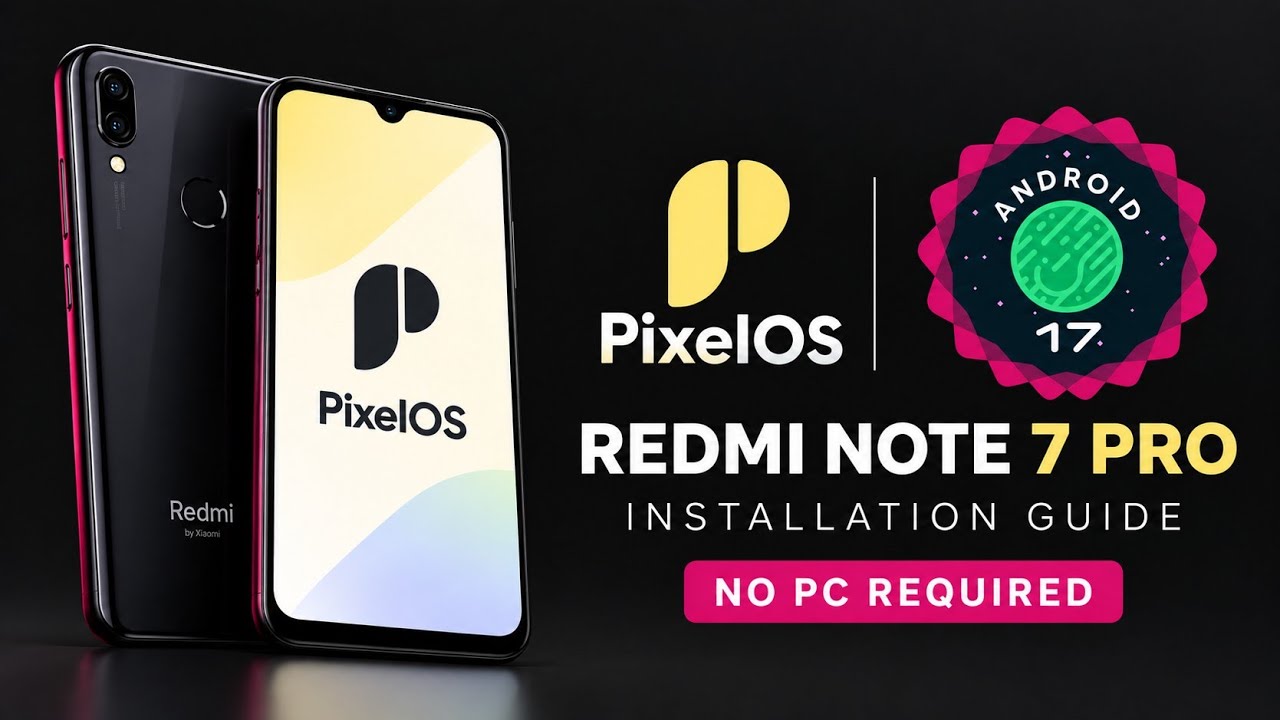
The Redmi Note 7 Pro continues to receive attention from the custom ROM community. PixelOS 17, based on Android 17, gives owners a way to try a newer Android experience. This guide follows the phone-only installation demonstrated by TechyNoob, using custom recovery and an external USB drive.
The demonstration starts from Superior OS based on Android 16 QPR2 and uses an unofficial Red TWRP recovery build. OrangeFox may also be an option, depending on the device setup and ROM compatibility.
Important: A clean flash and data formatting can erase personal files or leave a device unable to boot if an incompatible package is used. Back up important data first, verify that the ROM is specifically intended for the Redmi Note 7 Pro, and review the maintainer's instructions before proceeding.
Requirements
- Redmi Note 7 Pro with a compatible custom recovery installed.
- Correct PixelOS Android 17 ROM ZIP for the device.
- External USB drive and compatible USB OTG adapter.
- Sufficient battery and a backup of important files.
- The ROM ZIP copied to the USB drive before formatting internal storage.
This method performs the installation on the phone, so a PC is not required for the flashing steps. Keeping the ROM on external storage is important because formatting data removes files from internal storage.
Watch the Full Video
Step-by-Step Installation
1. Download and prepare the ROM
Download the PixelOS Android 17 ZIP and copy it to the external USB drive. Do not extract the ZIP. Check the device name and build details to make sure the package is intended for the Redmi Note 7 Pro.
2. Boot into custom recovery
Connect the USB drive using OTG. Use your ROM's advanced reboot menu if available, or power off the phone and hold Power + Volume Up to enter recovery. The video uses Red TWRP; OrangeFox may work if the installed build supports the ROM and device.
3. Wipe the old data
In recovery, open Wipe and select Cache, Dalvik, and Data, then swipe to confirm. Return to the recovery menu and choose Format Data. Type yes when prompted and confirm.
Warning: Formatting data deletes user data from internal storage. Proceed only after backing up important files and confirming that the ROM ZIP is safely stored on the external USB drive. Menu labels can vary by recovery version.
4. Flash PixelOS from USB storage
Return to the main recovery menu and choose Install. Tap Select Storage, choose the external USB storage, and locate the PixelOS Android 17 ZIP. Select it and swipe to begin flashing.
Wait for the process to finish. Do not unplug the USB drive, force-restart the phone, or interrupt recovery while system files are being written.
5. Reboot and wait
After the flash completes successfully, disconnect the USB drive and choose Reboot System. The first boot can take several minutes while Android initializes. Be patient and avoid interrupting startup.
Once Android loads, test essential functions such as Wi-Fi, mobile data, calls, camera, and sensors. A boot animation alone does not prove that every feature is working correctly.
Troubleshooting and Safety
- USB storage is missing: Reconnect the drive and OTG adapter, and confirm recovery supports USB OTG.
- The ZIP fails to flash: Recheck the device variant, download integrity, recovery compatibility, and maintainer instructions.
- The phone bootloops: Consult the ROM support community and use a verified backup or documented restore process rather than trying random fixes.
- You want to return to the previous ROM: Use a compatible backup or follow the previous ROM's restore instructions.
Custom ROM stability and feature support vary by build. This guide cannot guarantee identical results on every device.
Download
Final Thoughts
PixelOS 17 offers Redmi Note 7 Pro owners a way to explore an Android 17-based custom ROM. With a compatible recovery, the correct ZIP, and an external USB drive, installation can be completed directly on the phone. Back up first, verify the build, and allow both flashing and the first boot to finish without interruption.
Discussion (0)
Post a Comment
No comments yet. Be the first to share your thoughts!